Nov
Cranberry, Red Wine & Orange Sauce
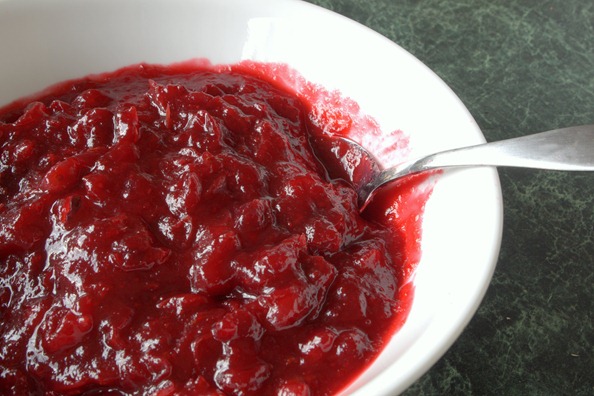
Less than a week to go until Thanksgiving…woo hoo!! For people like me who love to cook (and eat! ) Thanksgiving is THE holiday. I mean really, who doesn’t love Thanksgiving? Even if you are one of those people for whom cooking is a dreaded and disastrous affair, chances are you still enjoy going over to Grandma’s and feasting on turkey and mashed potatoes till you burst. Lots of holidays seem to be centered around eating these days, but Thanksgiving takes the prize for being the holiday when you are allowed… no, EXPECTED, to fill your plate with heaps of goodies and then stuff yourself silly. So, In honor of this foodalicious (this is what I originally wanted to call my blog…but someone already had it) holiday I have decided to post a few of my favorite Thanksgiving recipes.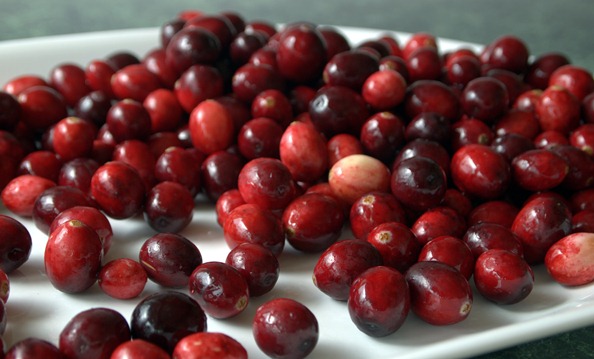
I am starting off with a really basic and simple recipe for cranberry sauce. It seems to me that this dish is often overlooked, shunned, or even (gasp) replaced with the canned version cause no one cares enough to make the real deal. Well, I am here to correct this mistake! Yes, I know there’s lots of people out there who swear by that gelatinous tube of red jelly. But just because your mom, and her mom before her, sliced it up and served it every year doesn’t mean you can’t break this misguided tradition. Besides, have you bothered to read the back of one of those cans of so called cranberry sauce? They’re loaded with high fructose corn syrup and preservatives – things that should NEVER go in cranberry sauce, not to mention your body! Okay, enough ranting. What I am trying to say is that this recipe for cranberry sauce is delicious and super easy to make. Just try it. You will like it.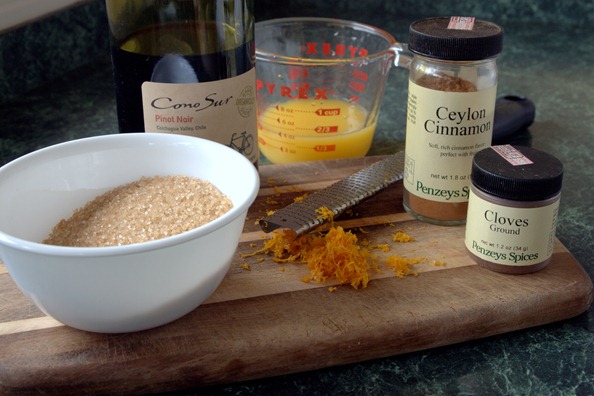
A quick recipe note: This recipe makes a fairly large amount of sauce. Unless you are serving a huge group, or you have some serious cranberry lovers in your family, I would suggest cutting it in half. Of course, there’s nothing wrong with making the full recipe and using the leftovers for other tasty meals. A few ideas to you started:
• Slather it on some thick bread along with a slab of leftover turkey and a piece of melty cheese. Put this in the toaster oven and you have a day-after open face sandwich.
• Mix it with some maple syrup and use it as a glaze for pork or chicken.
• Make a parfait! Layer cranberry sauce, vanilla yogurt and granola. Top with toasted almonds.
• Whisk it with some white wine vinegar and use as a salad dressing.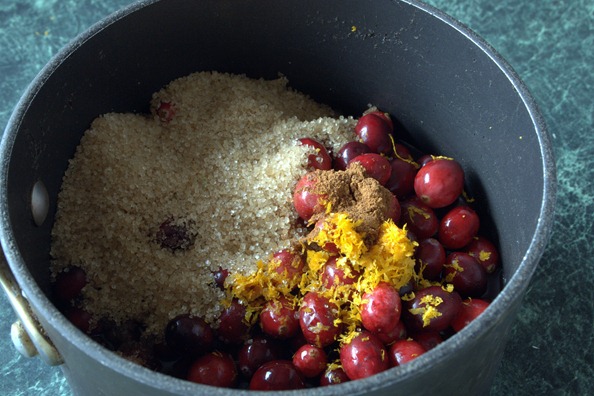
Cranberry, Red Wine & Orange Sauce
Adapted from The New Vegetarian Epicure
Makes: 8 –10 generous servings or 15-20 smaller portions
1 ½ pounds fresh cranberries
1 cup orange juice
½ cup water
Grated zest of 1 orange
1/3 cup dry red wine
1 ¾ cup sugar
½ teaspoon cinnamon
Pinch of cloves
1. Wash and pick over the cranberries, removing any that are discolored or soft.
2. In a medium pot combine all of the ingredients and bring to a boil.
3. Reduce the heat to medium and simmer gently for 10 minutes, stirring often until the cranberries pop and the sauce becomes thick and glossy.
4. Allow to cool, stirring occasionally to prevent a skin from forming on the top.
Stay tuned for more Thanksgiving recipes coming soon…very soon
Nov
Roasted Beets with Balsamic Glaze
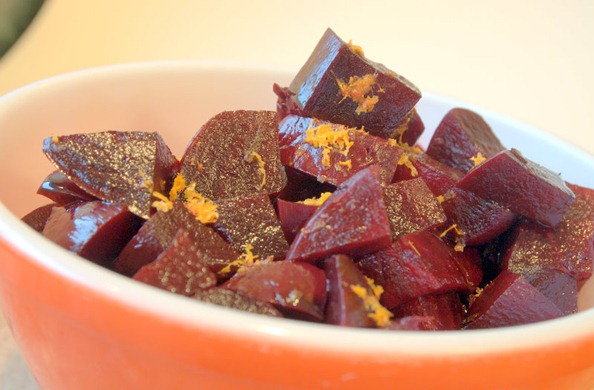
As far as I am concerned roasted beets are the only beets worth eating. Sure, you could argue that this same recipe would be just as good with boiled beets and take less than half the amount of time…but you would be wrong! Boiled beets are fine, but roasted beets are DELICIOUS. The long, slow roasting process brings out the earthy sweetness of the beets and causes the natural sugars to caramelize into all sorts of irresistible flavors. Boiled beets only wish they could be that good! Then there’s the glaze. This sweet yet tangy, super simple balsamic glaze adds an extra layer of yumminess to the already mouthwatering beets. I swear, this recipe might just win over even the most skeptical beet eater.
But wait…there’s more. I have been wanting to share an 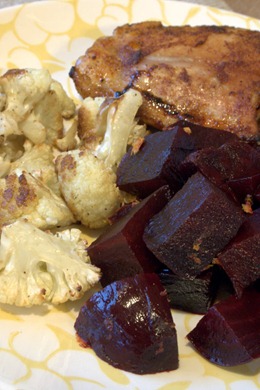
entire meal here for awhile now. Not just a one dish meal, but a few simple recipes that together create a complete meal. Since beets are really just a side dish (no matter how good they are) I thought this would be a great opportunity to create an entire meal post with three separate recipes. Roasted Beets with Balsamic Glaze, Chicken Thighs with Honey and Spice, and Roasted Cauliflower with Garlic. By the time you’re done reading this you will know exactly what’s for dinner tonight. Well, maybe tomorrow night. Since the beets take such a long time to roast I would suggest that if you’re making this meal on a week night you might want to roast the beets the night before. While the chicken and cauliflower are in the oven you can then make the glaze and pop the pre-roasted beets in the microwave for a few minutes until they’re warm. Make sure that you peel the beets while they are still warm though, because the skins are much harder to get off once the beets are cold. That reminds me,cold beets are great on salads. Slice or grate them over a spinach salad with citrus and toasted sunflower seeds. Maybe add some chick peas for protein and you have another delicious meal
that can’t be beet! I couldn’t resist – I had to include at least one beet pun. 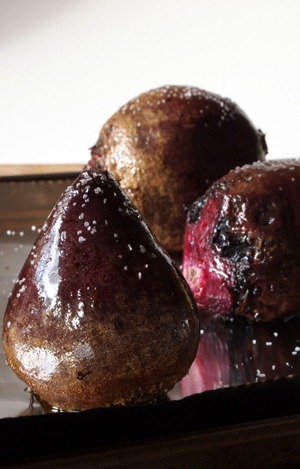
1. Preheat oven to 400º.
Roasted Beets
with Balsamic Glaze
Serves: 4-6
2 lbs. red beets
2 T. olive oil
coarse salt
1/2 c. balsamic vinegar
2 t. sugar
1 t. orange zest
black pepper
2. Prepare the beets by cutting off the green tops, trimming the root on the bottom and scrubbing clean.
3. Place the beets on a foil lined baking sheet. Brush with olive oil and sprinkle with coarse salt.
4. Cover the beets with another sheet of foil folding the edges together to create a seal.
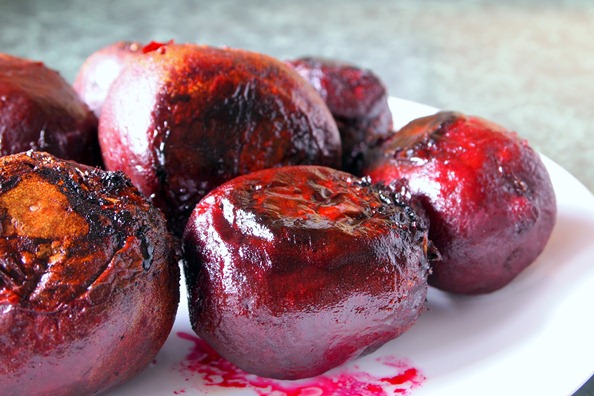
5. Roast for 1 to 2 hours or until a fork slides easily into the beet. Test them after one hour and then every 15 minutes until done. For the best flavor, even when you think they’re done let them go for 15 more minutes. This will ensure that the sugars have caramelized and the flavor is at its best. Remove the beets from the oven and let cool. (If you are making the beets ahead of time, skip the next step until right before you are ready to serve them. Be sure to peel the beets while still warm though, otherwise the skins are difficult to remove.)
6. While the beets are cooling make the glaze. Cook the vinegar and sugar; stirring often, over high heat until it reduces to a syrup. Set aside.
7. When the beets are cool enough to handle peel off the skin and cut into bite size pieces.
8. Place the beets in a bowl and drizzle the glaze over the top. Toss with the orange zest and black pepper to taste. Serve warm or cold.
 The next recipes are for Roasted Cauliflower and Chicken Thighs with Honey and Spice. They can both go in the oven at the same time because they have similar cooking times, but depending on your oven and the size of the chicken thighs they may not be done at exactly the same time. No problem. Just take out whatever dish is done first, cover with foil and place on your cooktop to keep warm.
Originally, I had planned on roasting the cauliflower and mashing it with a bit of roasted garlic and olive oil, sort of a rustic version of mashed potatoes. That plan all fell apart though when I pulled the roasted cauliflower out of the oven and popped a piece in my mouth. The browned edges and deep nutty flavor were so mouth-watering that I knew then we would eat it as it. Go ahead and mash it if you want, but in the end all I did was toss in a few cloves of roasted garlic and some grated parmesan and oh man was it good. Sometimes the most simple recipes are the best. 1. Preheat oven to 400º.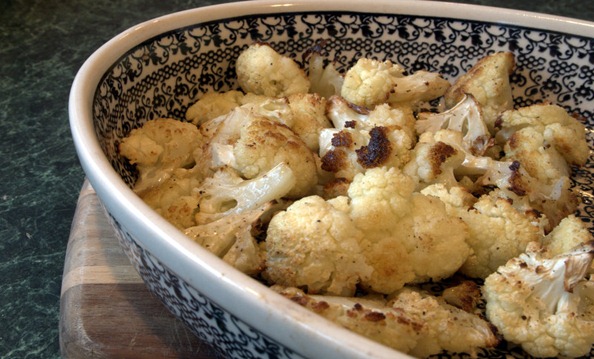
Serves: 4-6
1 medium size cauliflower
2 tablespoons olive oil
salt and fresh black pepper
5-6 cloves roasted garlic (recipe follows)
3 tablespoons freshly grated parmesan cheese
2. Cut the cauliflower into bite size florets and place them in a 9 x 11-inch baking dish. Drizzle with olive oil and sprinkle with salt and fresh ground pepper.
3. Roast 30-35 minutes, stirring and flipping the cauliflower at least once. You will know it is done when the edges began to turn brown and crispy and the florets are tender.
4. Remove from the oven and mix in 4-5 cloves of roasted garlic and parmesan cheese. Toss to combine. Serve hot.
The roasted garlic can go in the oven along with the cauliflower and chicken. 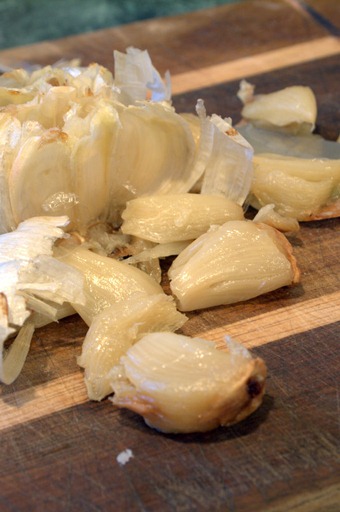
1. Preheat oven to 400.
2. Peel the outer layers off the garlic bulb, leaving the thin skin around the individual cloves.
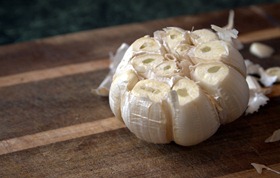
3. Cut off the top 1/4 to 1/2-inch of garlic bulb to expose the tops of the cloves.
4. Place on a sheet of tinfoil and drizzle with olive oil. Gather the foil together at the top of the bulb and twist to seal.
5. Roast 30 to 35 minutes or until the cloves are soft.
6. Remove the garlic from the oven, unwrap it from the tinfoil and let cool. When the bulb is cool enough to touch use a knife or fork to gently pull the roasted cloves from their skins.
The chicken can also go in the oven along with the cauliflower and garlic. This recipe is one of my favorites because its easy and flavorful. The spice level can be adjusted by varying the amount of red pepper that you add. This is a recipe that I make year round. In the summer on the grill, and this time of year in the oven. You really could make this dish with any chicken parts that you like, but in my opinion chicken thighs are the most flavorful and don’t dry out in the oven like chicken breasts tend to. I also like to use the thighs with bones in them because they tend to stay more moist than the boneless version. Sometimes I can’t find skinless bone-in chicken thighs so I just buy the ones with skin and remove it. Yes, I know the skin is oh so tasty, but also oh so unhealthy. I promise that with the spice rub and honey vinegar glaze you will never miss the skin. 1. Preheat the oven to 400º.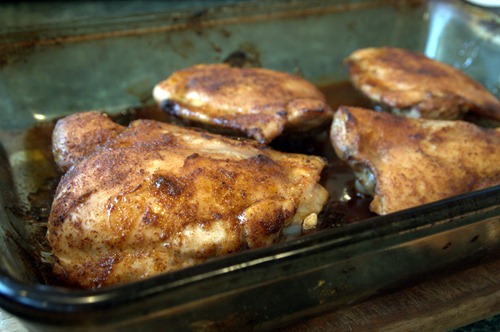
Chicken Thighs with Honey and Spice
Serves: 4
4 bone-in skinless chicken thighs
1 teaspoon garlic powder
1 teaspoon chili powder
1/2 teaspoon salt
1/2 teaspoon cumin
1/2 teaspoon paprika
1-1/2 teaspoon red pepper
1 teaspoon cider vinegar
3 tablespoons honey
2. Combine the garlic powder through red pepper in a small bowl. Add 1/2 teaspoon red pepper for just a touch of heat and 1 teaspoon or more for a spicy flavor. In another small bowl whisk together the cider vinegar and honey. If the honey is stiff and doesn’t combine easily with the vinegar put it in the microwave for 8-10 seconds to soften. Set aside.
3. Place the chicken thighs in a baking dish large enough so that space remains between them. Coat the chicken evenly on both sides with the spice mixture. Brush on half of the vinegar and honey mix.
4. Bake for 25-35 minutes depending on the size of the thighs. Flip once in the middle of the baking time and baste with the remaining honey sauce. The chicken in done when the juices run clear when poked with a fork and the internal temperature reaches 180º.
Nov
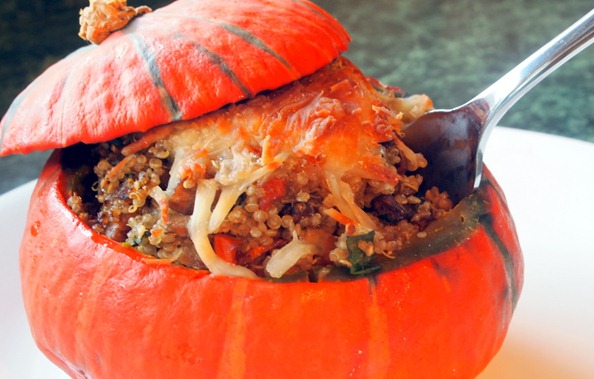
Quinoa Stuffed Squash
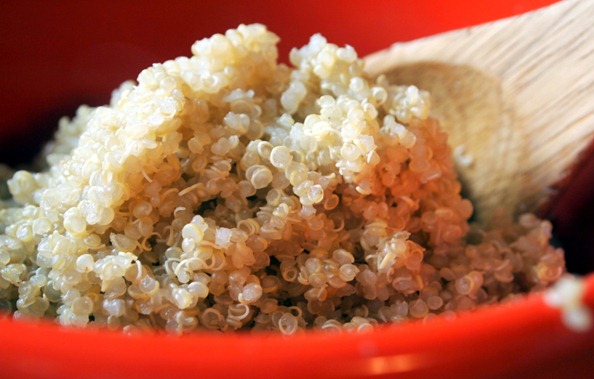
 Quinoa is a funny sort of grain. First of all, there’s the way it looks. It starts off pretty normal looking, kind of like chopped-up uncooked rice, but as it simmers away in the pot it begins to morph into tiny, semi-transparent ovals that are reminiscent of some sort of insect egg. I realize this description might not be the most appetizing, but I honestly can’t think of a better way to describe it. As it changes from a solid to an opaque the germ separates and leaves behind a thin spiral-like strand that wraps around the grain. The whole thing is very science fictiony, but the result is quite tasty.
  Quinoa (by the way its pronounced keen-wah) is best known for its exceptional nutritional qualities. Its claim to fame seems to be that it is considered a ‘complete protein’. Essentially this means that quinoa is both high in protein and contains all nine of the amino acids that humans need. This is pretty rare to find in a plant and helps explain why, along with corn and potatoes, it was considered one of the three staple foods of the Inca civilization. That is until the 15th and 16th centuries when the Spanish began to conquer, um..I mean colonize, South America and they banished the cultivation of quinoa for a time due to its use in non-Christian religious ceremonies. Luckily these days quinoa cultivation is alive and well in countries such as Peru, Bolivia, and Chile. There is even a farm in the mountains of Colorado that has been growing quinoa since 1987. Check out these links to read more about this fascinating and wildly successful experiment. http://www.whitemountainfarm.com/
http://www.frontrangeliving.com/cooking/quinoa.htm
The other strange thing about quinoa is that while its often placed in the same category as rice and other grains, it is not actually a grain. Instead it is actually a relative of some leafy green vegetables and is closely related to plants such as beets, spinach, and tumbleweeds? Tumbleweeds!
I could keep feeding you interesting tidbits about this super healthy, non-grain grain all day, but I suppose before you all stop reading and refuse to ever come back here again I should get to the recipe. 
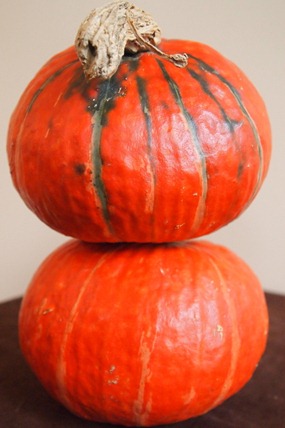
Stuffed squash is really a pretty basic dish. Generally you cook up a mixture of rice and veggies, stuff it in a hollowed out squash, throw it in the oven, and bamm…you have stuffed squash. In this recipe, the biggest variation from what I just outlined above is that the squash is partially cooked beforehand in the microwave (thank you Cooking Light for this excellent idea). This accomplishes two things. First it cuts the baking time down by more than half, and second because the baking time is shorter it allows the grain, or in this case the quinoa, to retain some of its nutty texture instead of turning to mush while it hangs out in the oven for an hour waiting for the squash to cook. For this recipe I used the beautiful Amber Cup squash pictured above. You could use a variety of different squashes in the is dish. Golden Nugget, Acorn, Buttercup, Autumn Cup, Carnival, Turban. Basically any winter squash with a shape that allows you to hollow it out and stuff it will work just fine. 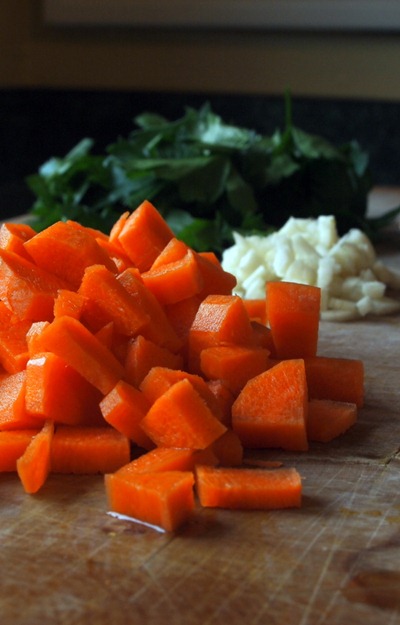
These are some of the goodies I put in the squash. The original recipe only called for onion, garlic, and sausage, but I decided to throw in some carrots, fresh Italian parsley and a portabella mushroom for extra flavor and texture. This last minute addition was so tasty that I am pretty sure I will be making a vegetarian version with just the portabellas in the near future. If you decide to go this route I would suggest using at least three mushrooms to replace the 8-ounces of sausage. On the subject of sausage, any kind will do but I used Al Fresco brand Chicken Apple sausage with Vermont Maple syrup- wow! That’s good stuff. 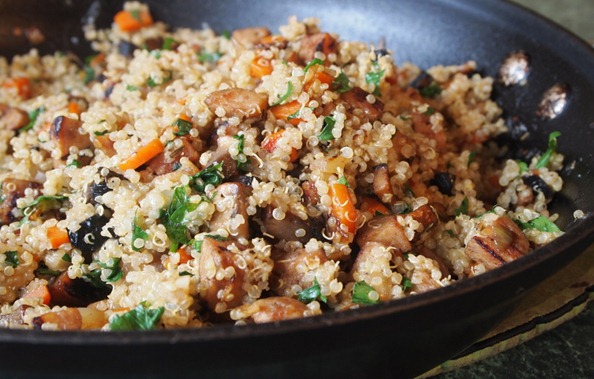
Here is the squash stuffed and ready to bake- Yummm!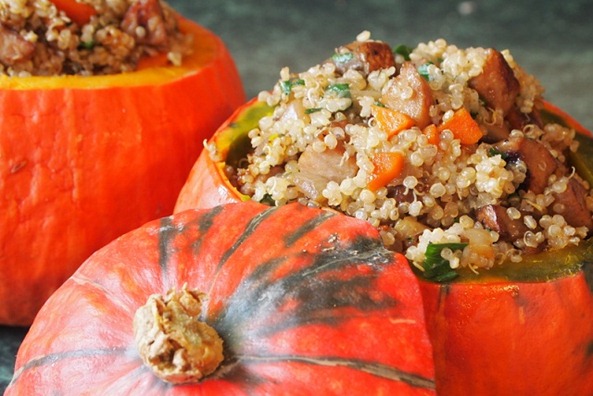
Adapted from Cooking Light
Quinoa Stuffed Squash
Serves 4
4 (1-pound) or 2 (2-pound) Amber Cup or Golden Nugget squash
8 ounces sausage (I used chicken sausage with apples & maple, but you could use any kind you like- turkey, pork, spicy or sweet. If you use a fattier type, such as pork, be sure to drain all but about 1 tablespoon of the fat before adding the vegetables)
½ cup carrot, roughly chopped
½ cup onion, finely chopped
2 garlic cloves, finely chopped
1 large portabella mushroom, roughly chopped
1 cup uncooked quinoa
2 cups water
2 tablespoons fresh flat-leaf parsley
1 teaspoon fresh thyme or ½ teaspoon died
¼ teaspoon salt
¼ teaspoon freshly ground black pepper
4 ounces cheddar or Monterey Jack cheese, shredded
- Prepare the squash. Cut off the top of each squash about a quarter of the way down. Scoop out the seeds and scrape the inside of the squash. Place two of the squash in a microwave safe dish. I used an 11 x 7-inch dish. Fill the dish with 1-inch of water. Microwave on high for 15 minutes. Remove squash from the dish and place on a plate to cool. If you are using 4 squash, repeat the process with the remaining two squash.
- Preheat oven to 375˚.
- Cook the quinoa. In a medium saucepan bring 1 cup quinoa and 2 cups water to a boil. Turn the heat down, cover and simmer for 10-15 minutes until the quinoa is soft and grains appear translucent. Set aside.
- While the squash and quinoa are cooking, prepare the filling. Heat a large skillet with a swirl of olive oil over medium-high heat. Remove the casings from the sausage and add to the pan. Sauté the sausage for about 5 minutes, stirring and crumbling with a wooden spoon. Add the carrot, onion, garlic, and mushroom. Cook, stirring often, until the mushroom releases its juices and the carrot it soft. 6-8 minutes.
- Remove the skillet from the heat. Mix in the quinoa, parsley, thyme, salt, pepper and a ½ cup of shredded cheese.
- Place the squash on one or two baking sheets, depending on how many squash you used. Also place the squash tops on the baking sheet(s). Fill the squash with the quinoa mixture. Top each with 1-2 tablespoons of shredded cheese. Bake for 20 minutes or until thoroughly heated.


