Apr
Almond Butter Dark Chocolate Cookies
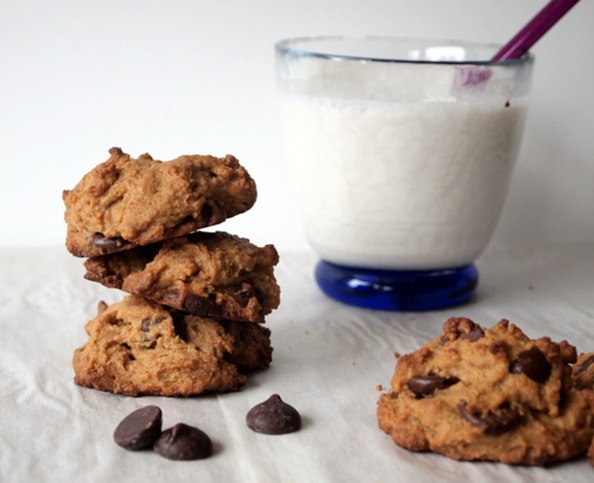 Rainy days are made for baking cookies… and eating cookies. Or to be exact, eating three cookies in a row plucked straight from the still hot baking tray. What…no, I would never do that! I always wait patiently for the cookies to cool before stuffing them in my mouth. Ha! Yeah right, I mean does anyone wait? Seriously, the person who can resist devouring cookies still warm from the oven is clearly a better person than me. There’s just something about the thrill of burning my fingertips on gooey melted chocolate and the roof of my mouth on piping hot dough that I simply can’t resist. Come on, what’s a few burned fingers when what you get in exchange is mouthful of amazing almond butter cookie mixed with a generous bite of dark chocolate? Clearly the reward far outweighs the sacrifice.
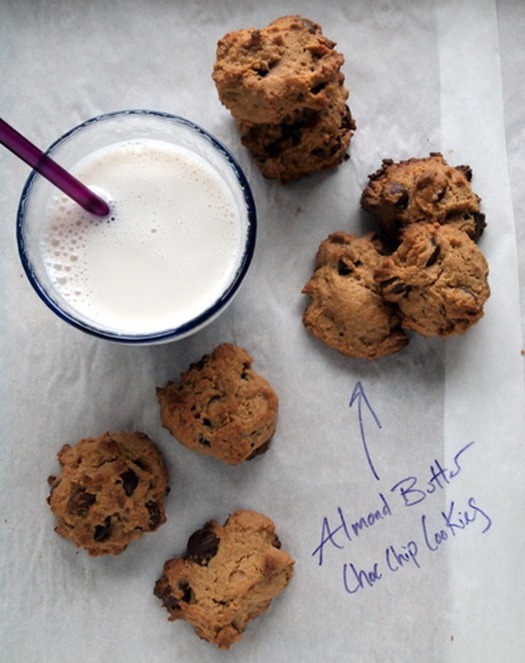 These cookies did a fine job of brightening up what was otherwise a dreary rainy day. They also gave me an excuse to try out a new kind of sugar I recently discovered. It’s called Coconut Sugar and is made from the sap which drips from coconut flower blossoms! Pretty cool huh? This is a traditional sweetener that’s been used for years in southeast Asia. The process for making the sugar sounds similar to how we make maple syrup. A little cut is made in the blossom from which the sap flows out and is collected in bamboo containers. The sap is then heated over a long period of time during which the moisture evaporates until a thick paste forms. Sometimes you can find coconut sugar sold in this paste-like form, but it seems that the most common type has been cooked even further until it becomes a granulated sugar.This is the type I bought. It looks kind of like a cross between turbinado and brown sugar.
 Coconut sugar tastes pretty similar to plain white cane sugar except that is has a hint of caramel flavor reminiscent of brown sugar. I think you could successfully use it as a substitute for either white or light brown sugar. There’s several reasons why coconut sugar is all the rage these days. First, because it’s minimally processed (especially the brands labeled organic) and contains no additives or bleaching products. Second, it has trace amounts of minerals like zinc and iron. And third, it boasts a low glycemic index which is a safer alternative for those with diabetes because it doesn’t cause such a rapid spike in blood sugar. Of course, like every product that claims to be a “healthier” sweetener there are questions popping up about the true nature of this sugar and just how low the glycemic index really is. It’s my opinion that all sugars should be used sparingly regardless of what the GI number is, but what really draws me to coconut sugar is the fact that it hasn’t been processed to death or treated with bleach and other nasty things that I would rather not put in my body. For that same reason my favorite sweeteners lately have been honey and maple syrup. The problem is that it can sometimes be hard to use these liquid sweeteners in recipes that call for dry sugar. In these cases coconut sugar seems like a great alternative.
Speaking of maple syrup…I couldn’t resist including just a little. I suspected that the maple flavor would be the perfect compliment to the almond butter and the teaspoon of cinnamon that I added. Guess what? I was right.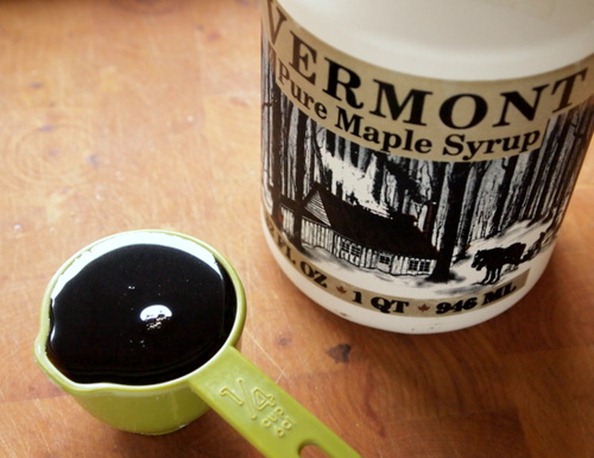
This was my first time making almond butter cookies. Well, actually my second time because the first batch, while tasty, came out with a texture more like cake than a cookie. The solution was more butter-like twice as much butter. I had this theory in my head that since I was including almond butter I could use less regular butter. Not true. Almond butter does not act the same as butter made from a dairy product, at least not in these cookies. The almond butter has a very mild flavor- in fact, I couldn’t detect any almond flavor in these cookies at all. There is a slight nutty taste that is sooo good along with the cinnamon and maple flavors. This amazing combo makes these cookies pretty irresistible in my book.  I also added lots of chocolate chips…because I could.
These are lumpy looking cookies that don’t spread much as you bake them. I smashed the first batch down with a fork like you would with traditional peanut butter cookies, but for this batch I decided to leave them as is in all their lumpy glory. If you want a thinner cookie go ahead and give them the fork treatment but be sure to reduce the baking time by a few minutes.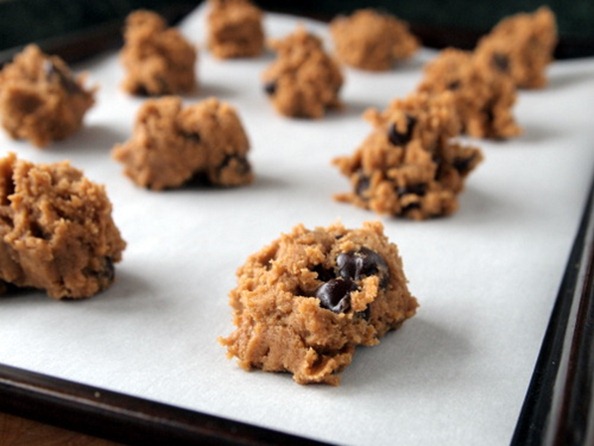 Yum!
Yum!
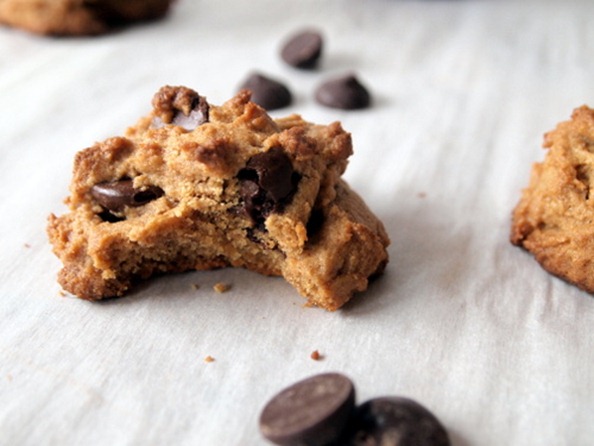
Almond Butter Dark Chocolate Cookies
makes: 2 dozen cookies
1 1/2 cups white whole wheat flour or whole wheat pastry flour
1 teaspoon baking powder
1/4 teaspoon salt
1 teaspoon cinnamon
1/2 cup coconut sugar or light brown sugar
1/4 cup maple syrup
8 tablespoons (1 stick) unsalted butter, room temperature
1/2 cup raw almond butter
1 egg
3/4 cup dark chocolate chips
1. Preheat oven to 350ºF. Line two cookie sheets with parchment paper or silicone baking mats.
2. In a medium size bowl whisk together the flour, baking powder, salt and cinnamon.
3. In a large bowl, or in a stand mixer bowl, beat together the sugar, maple syrup and butter until fluffy with the beater on high. Add the almond butter and egg and continue mixing on medium high until completely incorporated. Add the flour mixer in two parts with the mixer on medium-low. Beat until just combined. Using a wooden spoon fold in the chocolate chips.
4. Drop heaping tablespoons of dough on the prepared baking sheets. The cookies will not spread very much so they only need a little space in between. I was able to fit 12 cookies on each 9×11-inch baking sheet.
5. Bake for 12-14 minutes, rotating the sheets once if they are on different levels of the oven. The tops will the slightly browned. Cool on wire baking racks.
Mar
Peppermint Tea Dark Chocolate Brownies
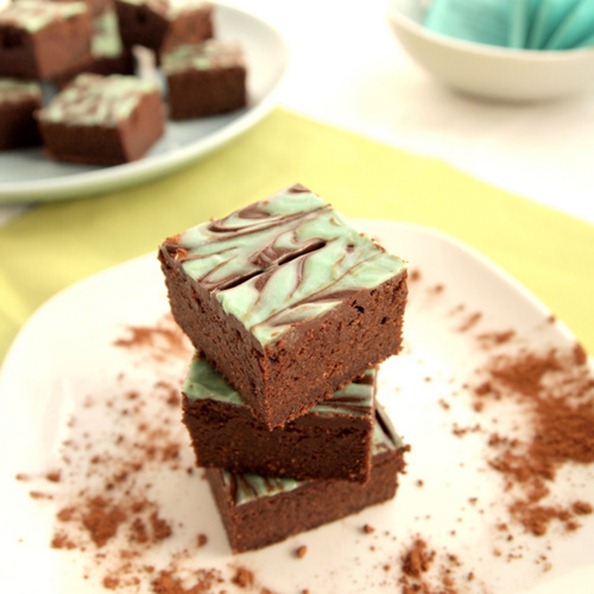
Hmmm…tea or brownies? Tea and brownies? How about tea in brownies! If you love tea and you LOVE brownies (who doesn’t love brownies? ) this recipe is for you. Dense fudgy,dark chocolate laden brownies spiked with an earthy mint flavor reminiscent of your favorite cup of tea. It’s a chocolate and mint lovers dream. This special brownie was inspired by a recipe that I pulled out of a magazine years ago, filed away for future use and promptly forgot about. For ten years. Yup, the date at the bottom of the page says August/September 2002. Wow, I guess I should go through my recipe file more often. The funny part is that when I saved the recipe I didn’t know it had tea in it. I thought it was just your normal mint brownie made with peppermint extract. The main reason I saved it all these years was because of the pretty marbled white chocolate glaze that covered the brownie.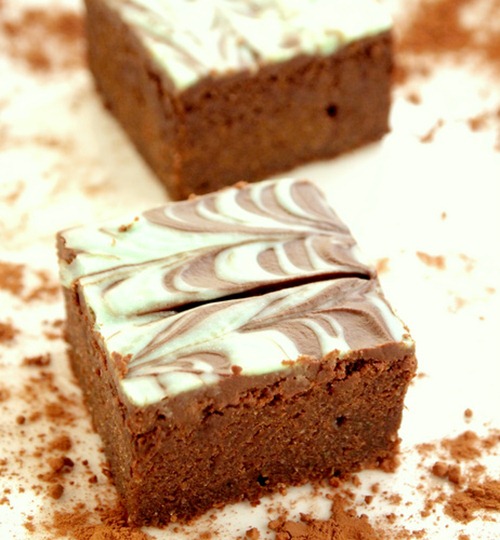 It wasn’t until I read through the ingredients and spotted the tea that I realized what a special recipe this was. Despite my initial excitement, in the end I used the tea portion of the recipe and a modified version of the glaze, but not much else. The reason? It called for 2 1/2 sticks of butter and 2 cups of sugar!!! Granted, the recipe made a 9 x 13-inch pan of brownies which is pretty big, but even cut in half this recipe has more butter and sugar than any brownie would ever need. I have a brownie recipe from Cooking Light that I often use as a base for any brownie that I create. It’s thick and fudge-like with lots of chocolate flavor but only 5 tablespoons of butter and a mere 3/4 cup of sugar. Lots of indulgent flavor but no so many indulgent ingredients.
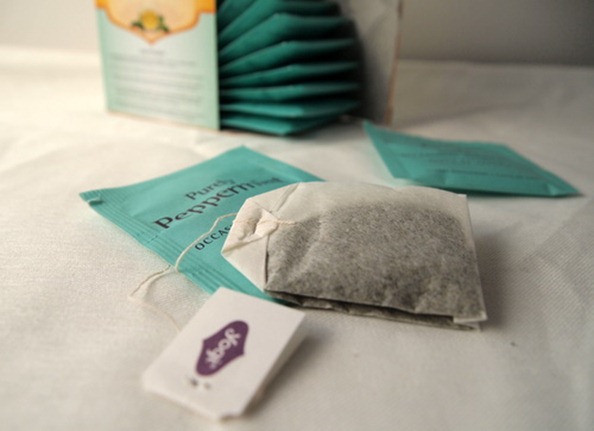
The tea I used was Yogi Purely Peppermint, but any herbal peppermint tea will do. I like the Yogi brand because they have a whole line of teas for specific aliments like Bedtime tea, Calming tea and my favorite Throat Comfort. I swear this is the best remedy for a sore throat out there. Beside their awesome teas, the other thing I love about the Yogi brand is that each tea bag comes with an inspirational message. And who couldn’t use a little inspiration with their tea…or their brownies?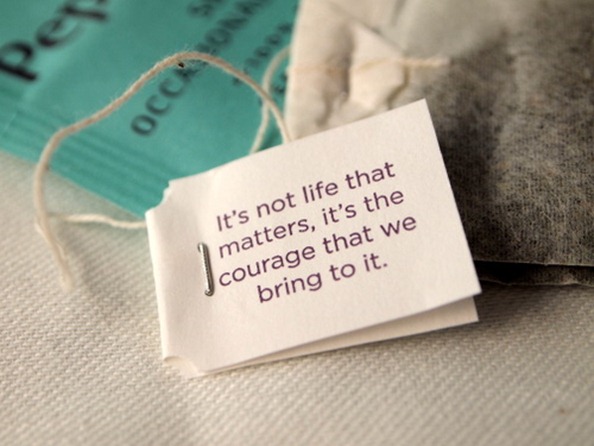
The recipe instructions said to grind the sugar and tea leaves together in a food processor. Honestly, I’m not totally convinced that this step is necessary. My tea leaves were pretty well ground to begin with and I’m pretty sure that simply stirring the sugar and tea together would have produced the same result. But I did it anyway. I did it because when trying something new I‘m often struck with a debilitating fear that if I don’t follow the directions exactly I will be doomed to imminent failure. Let’s just say that in this case I took one for the team. I ground that sugar and tea so that you wouldn’t have to. Or go ahead and grind…who am I to tell you to break the rules? 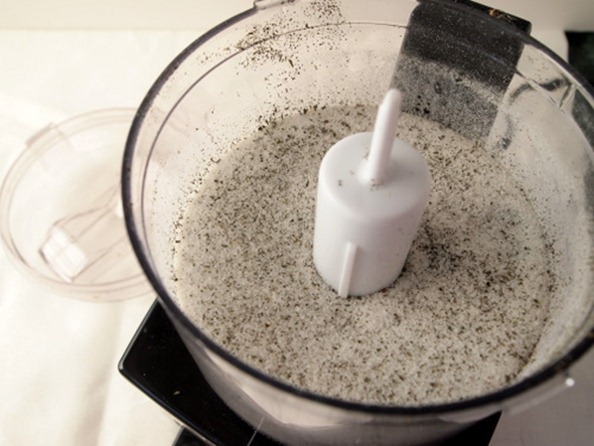
Grinding or no grinding, the end result is a thick, fudge-like batter laced with a refreshing minty aroma. 
I had mine with what else… a mug of hot steaming tea.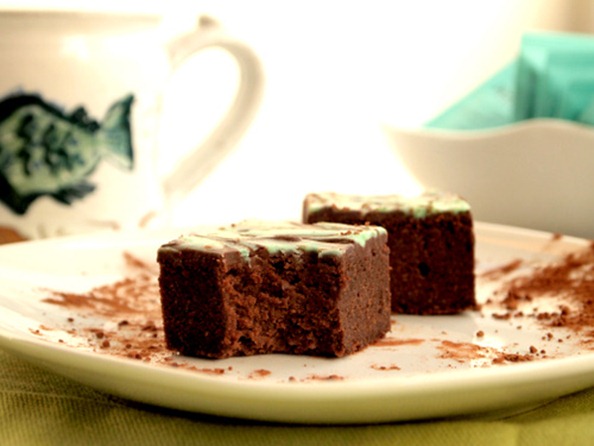
Peppermint Tea Dark Chocolate Brownies
inspired by Cooking Light and Fine Cooking
Makes 16 small or 12 medium brownies
1/2 cup whole wheat pastry flour
1/2 cup white flour
1/2 cup unsweetened cocoa
1/4 teaspoon salt
1 teaspoon peppermint tea (from 1 teabag)
3/4 cup granulated sugar
5 tablespoons unsalted butter
2 ounces dark chocolate
1 teaspoon peppermint extract
3/4 cup milk
1 egg
2 egg yolks
2 ounces dark chocolate
1 tablespoon butter
1 ounce white chocolate
~1 tablespoon milk
green food coloring (optional)
1. Preheat the oven to 350ºF. Line an 8-inch square baking dish with parchment paper. Cut the paper long so it overhangs the edge of the dish on two sides. This will make it easy to remove the brownies before frosting.
2. In a medium bowl sift together the flours, cocoa and salt. In a food processor grind together the sugar and tea, add to the flour mixture. (This step can be skipped if you don’t have a food processor, just add the sugar and tea to the flour mixture and combine).
3. Place 2 ounces of dark chocolate and 5 tablespoons of butter cut into pieces in a small bowl. Microwave on high for about one minute in 20 second intervals. Stir between each interval. When the chocolate and butter are melted stir in the peppermint extract. Set aside to cool slightly.
4. In a small bowl whisk together the milk, egg and egg yolks. Add to the flour mixture and stir with a wooden spoon until completely incorporated. Fold in the chocolate mixture until just combined. The batter will be thick.
5. Pour into the prepared pan and tap on the counter to level. Bake for 25-30 minutes or until a wooden skewer inserted comes out clean. Place on a wire rack to cool. After about ten minutes pull the parchment edges and lift the brownies out of the pan. Let cool completely before frosting (about 1 hour).
6. When the brownies are cool melt the remaining 2 ounces of dark chocolate with 1 tablespoon of butter using the same method of 20 second intervals for about 1 minute total. Set aside and melt the white chocolate with a scant tablespoon of milk. Add more milk if needed until the white chocolate is the right consistency to drizzle over the brownies in a thin line. Add the food coloring one drop at a time until the desired green color is achieved. When both chocolates are melted pour the dark chocolate over the brownies and spread smooth. Drizzle the white chocolate over top in straight lines and drag a toothpick through the chocolate in alternating directions. Put the brownies in the fridge to cool for at least 2o minutes. Remove and cut into 12 or 16 pieces.
Feb
Chocolate Pavlova with Blood Orange Cream
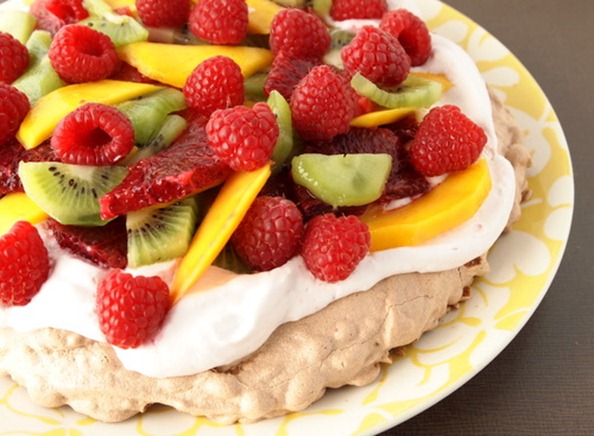
I made you a dessert. A magnificent dessert. A dessert with chocolate and cream and tropical fruit. A dessert that will make your heart fill with joy and your mouth cry out for more. A dessert that is impressive to behold yet surprisingly simple to prepare. A dessert that is truly worthy of a holiday meant for love. ♥
You’re welcome.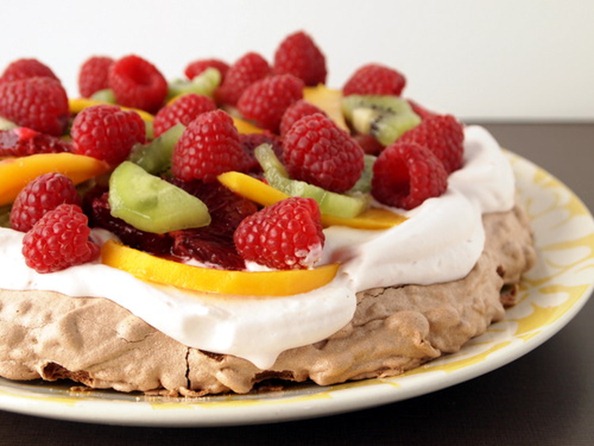
If you’ve never had the pleasure of enjoying a Pavlova before, you’re in for a real treat. This meringue based dessert boasts an airy crisp crust and a chewy, almost marshmallow like center. It’s topped with whipped cream- I infused mine with a bit of fresh squeezed blood orange juice- and piled high with fresh fruits and berries. Pavlova is the perfect dessert to make for the one you love…or to ask the one you love to make for you. It does take a bit of time to prepare because the meringue needs to cook at a low temperature for about an hour and then cool slowly for another hour. But the hands on time is pretty minimal. And I promise…it is totally worth it.
Whipped egg whites and cocoa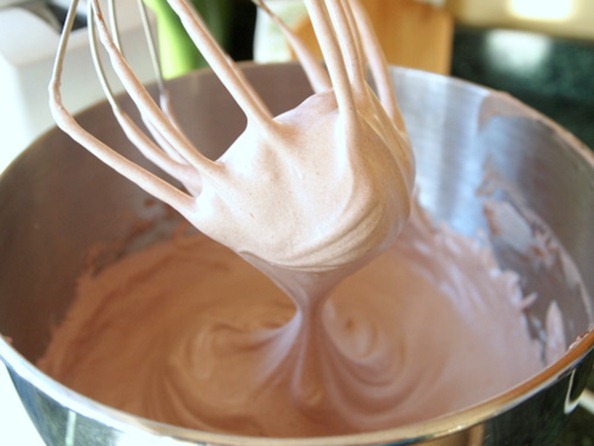
Meet fresh fruit
All together now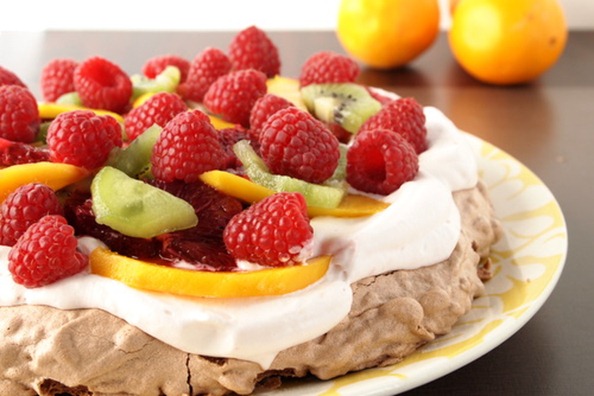
Chocolate Pavlova with Blood Orange Whipped Cream
barley adapted from Fine Cooking
4 large egg whites, room temperature
1/8 teaspoon cream of tartar
3/4 cup plus 2 tablespoons granulated sugar
1 tablespoon red wine vinegar
1 1/2 teaspoons cornstarch
1/4 cup unsweetened cocoa, sifted
1 cup heavy cream
2 tablespoons blood orange juice, from 1 orange
2 cups fresh fruit and berries ( I used 2 kiwis, 1 mango, 1 blood orange, and about 1/2 a cup of raspberries)
1. Preheat the oven to 350ºF. Cut a piece of parchment paper into a 9 inch circle and place on a baking sheet.
2. In the bowl of an electric stand mixer, or using a large bowl and an electric hand mixer, whip the egg whites and cream of tarter for about 30 seconds on medium speed until foamy. Slowly add 3/4 cup of sugar, cornstarch and vinegar. Raise the speed to medium high and whip for another 3 to 5 minutes or until the whites are glossy and hold stiff peaks when the beater is raised out of the bowl. With the mixer on low add the sifted cocoa and mix until almost combined. Turn off the mixer, scrape the sides of the bowl with a rubber spatula and finish mixing in the cocoa by hand until it is completely incorporated.
3. Slide the meringue out of the bowl and onto the parchment circle. Spread it out so it fills the entire circle and smooth the top a bit. Don’t worry about making it perfectly level, the ridges and bumps will give the finished product character.
4. Bake for 10 minutes and then reduce the heat to 300ºF. Bake for another 45 to 50 minutes until it cracks around the edges and puffs in the middle. Turn off the oven and open the door a crack. Leave the meringue in the oven to cool for 45-60 minutes. The slower it cools the less it will collapse in the middle. You can make the meringue the day before you plan on serving it and leave it in the oven to cool overnight.
5. Right before serving beat the heavy cream, blood orange juice, and remaining two tablespoons of sugar in a chilled bowl until soft peaks form. Mound the whipped cream on the meringue and spread it almost to the edge. Top with fresh fruit and serve immediately.


