Mar
Roast Asparagus + Egg Sandwich {and a Liebster award}
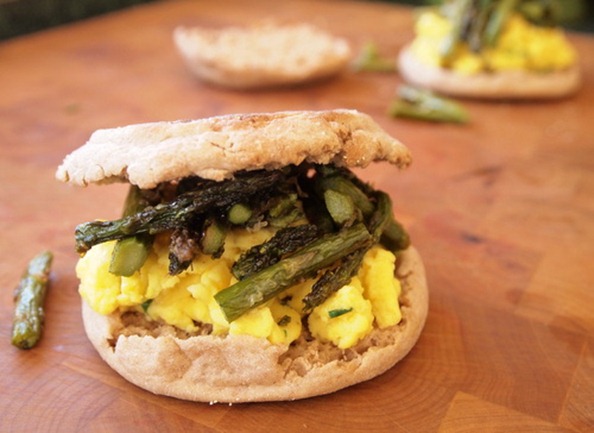
Asparagus is practically a requirement of my spring eating and cooking repertoire. Never mind that the only thing around here right now that says spring is the calendar. Remember last week when I bragged about the unusually warm weather and even showed off my stellar grilling skills with this sweet potato and kale grilled pizza? Well…things have changed. The temperature dropped over the weekend and on Sunday night a bit of snow came down, leaving a fine layer of cold white stuff on my freshly raked lawn and budded daffodils. So much for summer-like weather in March. I’m a practical person though so I did what any hardened northerner would do. I turned up the heat and spent the week eating the most spring-ish food I could find- strawberries and asparagus. 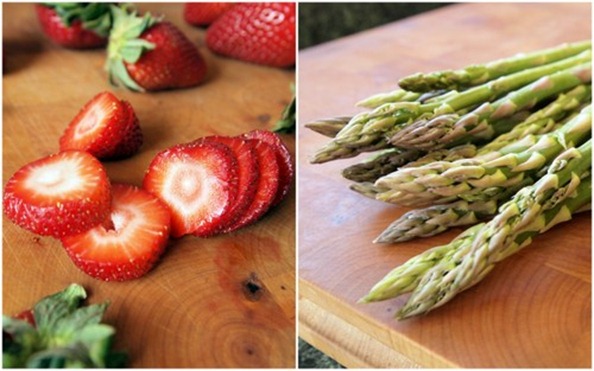
My strawberry recipe needs a little refining before I can share it with you (translation: I had a recipe flop), but the roasted asparagus atop scrambled eggs with chives is was just divine! Simple fresh flavors and a super easy preparation have just made this my go to spring meal. There are two components to this sandwich. First the asparagus is roasted with a drizzle of olive oil, a sprinkle of salt and pepper and a dusting of freshly grated parmesan.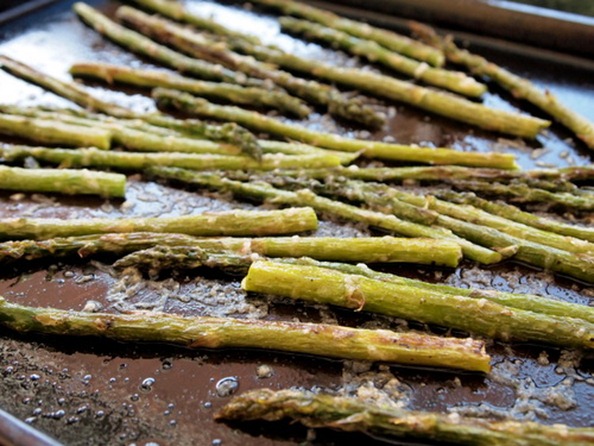
Next the eggs are mixed with chives and a tiny bit of milk and scrambled until fluffy. At the end a bit more parmesan is added because…well because it’s cheese and more cheese is always better.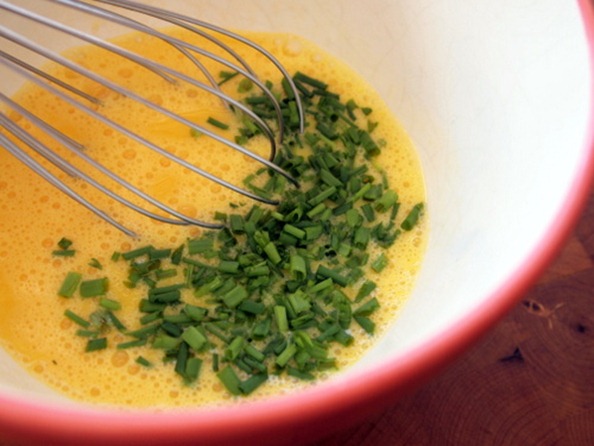
A scoop of egg goes on top of a whole wheat English muffin.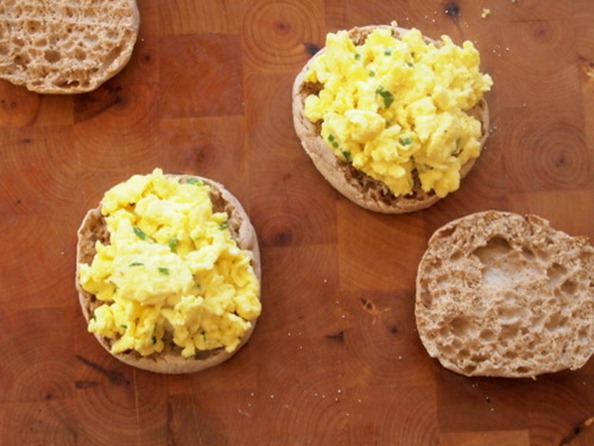
Pile on the asparagus.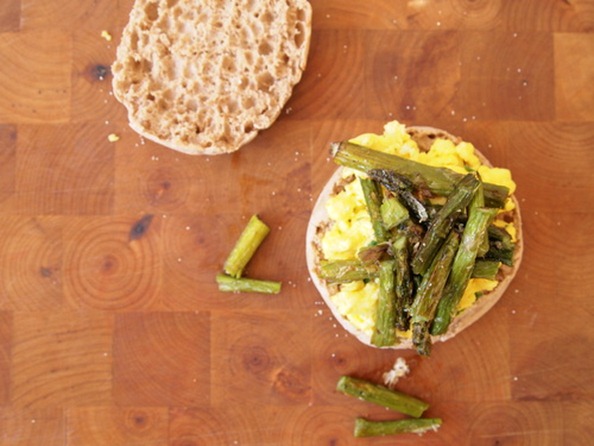
There you have it. The perfect spring breakfast, lunch or dinner sandwich.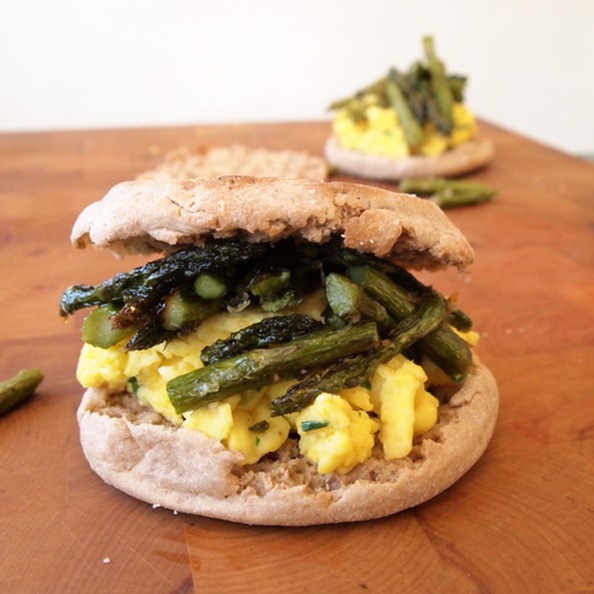
Roast Asparagus + Egg Sandwich
Makes 4 sandwiches
3/4 pound asparagus
1/2 tablespoon olive oil
salt and fresh ground pepper
2 tablespoons freshly grated parmesan, divided
5 eggs
2 tablespoons milk, cream or half & half
2 tablespoons chives, minced
1 teaspoon unsalted butter
4 whole wheat English muffins
1. Preheat the oven to 400ºF. Snap off the tough ends of the asparagus and pile them on a rimmed baking sheet. Drizzle with the olive oil and sprinkle with salt and pepper. Arrange the asparagus spears in a single layer. Roast for 12 minutes. Remove from the oven and sprinkle one tablespoon of parmesan evenly over the asparagus. Roast for another 5 minutes or until the spears are tender and the cheese is crispy.
2. While the asparagus is roasting prepare the eggs. In a medium size bowl whisk together the eggs and milk. Add the chives and a dash of pepper (you can add salt if you like but I like to leave it out because I think the parmesan that you will add at the end provides more than enough saltiness). Melt the butter in a medium size skillet over medium-high heat. Add the eggs and turn the temperature down to medium. Cook, stirring almost continuously, until they are are fluffy and cooked through. Remove from the heat and add the remaining one tablespoon of parmesan.
3. Toast the English muffins, pile each with a quarter of the eggs and a quarter of the asparagus. Serve immediately.

An award and a confession:
I was given an award..twice. And I feel kind of bad about it. See the thing is you’re not supposed to get this award twice. A Liebster (it means favorite or beloved in German) Award is given to bloggers from other bloggers. I was first given the award from Gerlinde at Cooking Weekends. The idea is that you give the award to 5 bloggers and they in turn give the award to 5 more bloggers. It’s a great way to acknowledge the blogs you love and share them with others. Of course, this chain of blog love only works when everyone follows the rules. It’s been over a month since Gerlinde gave me the award and I’m just now doing my part by announcing it here and in turn giving out my five awards. I know, I know, it’s ridiculous and I have no good excuse for waiting this long. What finally spurred me into action was when last week Julie over at Tastefully Julie also awarded me the Liebster!
So here’s a big Thank You to both Gerlinde and Julie for nominating me ♥
There are a few conditions of accepting this award:
Thank the person (or persons) who gave you the award and link back to them
Copy and paste the Liebster Blog award onto your blog
Give the award to 5 blogs with 200 followers or less and let them know by leaving a comment on their blog
Here are my choices in no particular order:
Texanerin Baking
My Little Table
Seaweed & Sassafras
Sweet and Salty
Cupcake Design
Hope you all enjoy these blogs as much as I do!
Mar
Whole Wheat Peanut Noodles
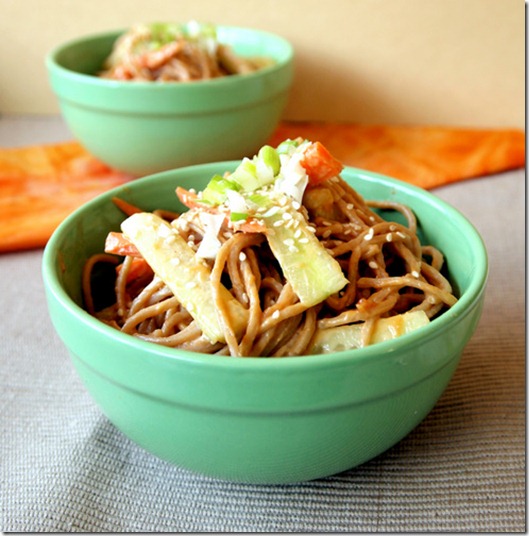 Spring Fever! The sun is shinning, the birds are singing, the grass is greening and I’m feeling the urge to get out and enjoy it. So I did. Yesterday I gleefully went outside and raked my lawn wearing shorts and a tank top! Now I have a beautiful leaf-free lawn and a blister on each hand. Oh the things we put ourselves through for a pretty patch of green in the backyard.
I also made my way down to The Farm Store and picked up a gorgeous bag of fresh organic produce. Thanks Jen for bringing this wonderful resource to our community. Can’t wait to see what goodies you have next week.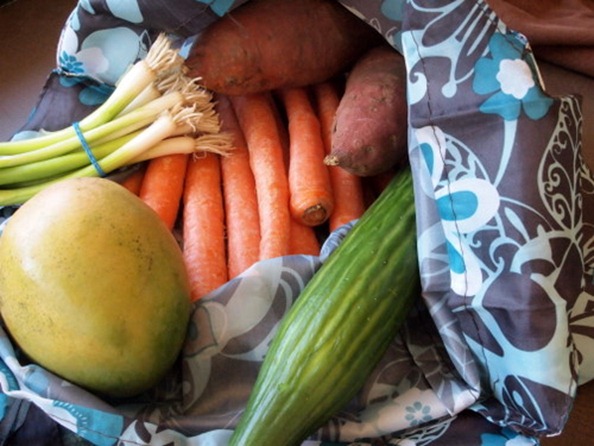
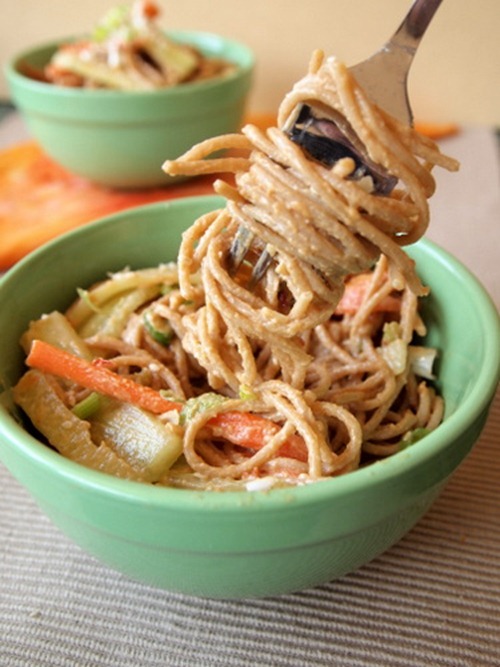
Feeling inspired by my purchases and the warm weather I decided a cold pasta salad was just what the day called for. A pasta salad that only takes 15 minutes to make and is packed with a little sweet, a little spice and a little salt. What more could you want in life. Peanut noodles can be made using practically any combo of vegetables. Because lets be honest…anything smothered in peanut butter is good…right? The only rule I follow is to use at least one crunchy vegetable to offset the chewy noodles and creamy peanut sauce. Snap peas, sweet red pepper or even broccoli will do the tick. This time I went with thinly sliced carrots and combined them with a European cucumber and some lovely scallions. Perfect.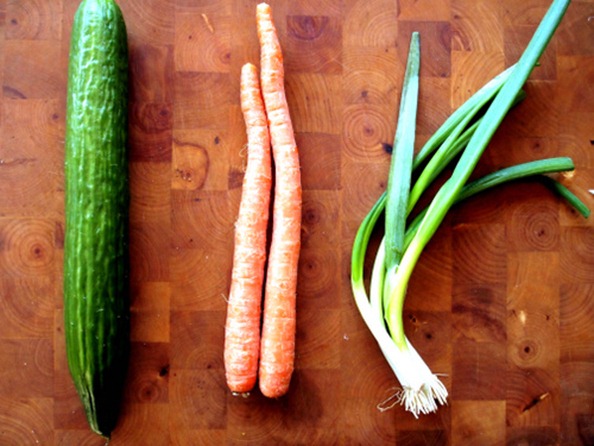
Veggies get sliced…matchstick style for the carrots and cukes, little round slices for the scallions. Don’t worry if your matchsticks aren’t perfectly shaped. No one cares.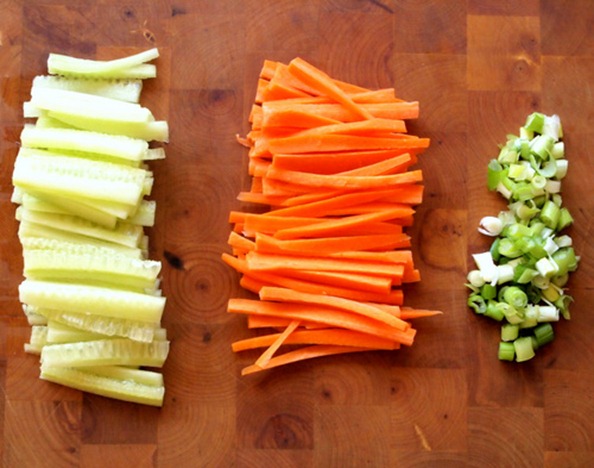
Peanut sauce with lots of lime and sweet chili paste!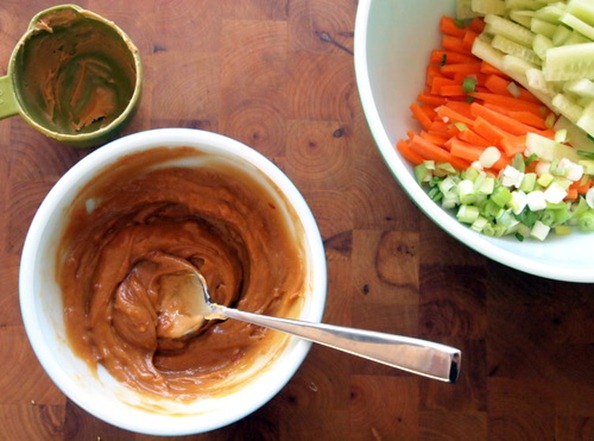
Peanut sauce + veggies + noodles = Peanut veggie noodles! Simple, simple, simple. Now I can go back outside and give myself some more blisters. Enjoy.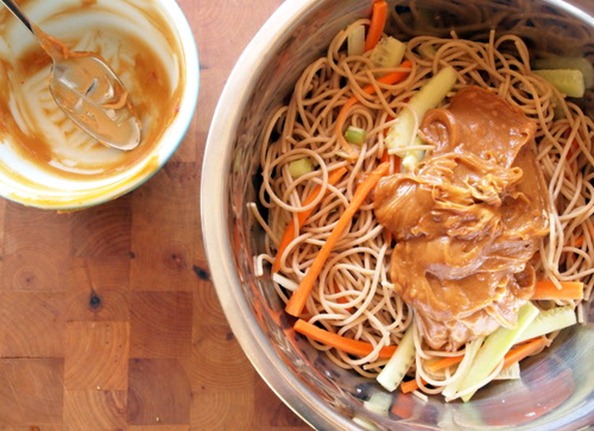
Whole Wheat Peanut Noodles
adapted from Nigella Lawson
serves 6
10 ounces whole wheat spaghetti noodles
2 medium carrots, peeled and cut into matchsticks
1 medium European cucumber, peeled and sliced into matchsticks
3 scallions, sliced into small rounds
1 tablespoon reduced sodium soy sauce
2 tablespoons toasted sesame oil
2 tablespoons sweet chili sauce
1 garlic clove, peeled and smashed
3 tablespoons fresh lime juice
1/2 cup peanut butter
1 tablespoon sesame seeds
1. In a large pot of boiling water cook the spaghetti according to the package directions. Drain, rinse with cold water and put into a large bowl. Add the carrots, cucumber and all but about 1 tablespoon of the scallions. Toss to combine.
2. In a small bowl whisk together the soy sauce though peanut butter. Pour the peanut sauce over the noodles and mix.
3. Serve with the remaining scallions and sesame seeds sprinkled on top.
Mar
Sweet Potato, Smoked Mozzarella + Kale Grilled Pizza
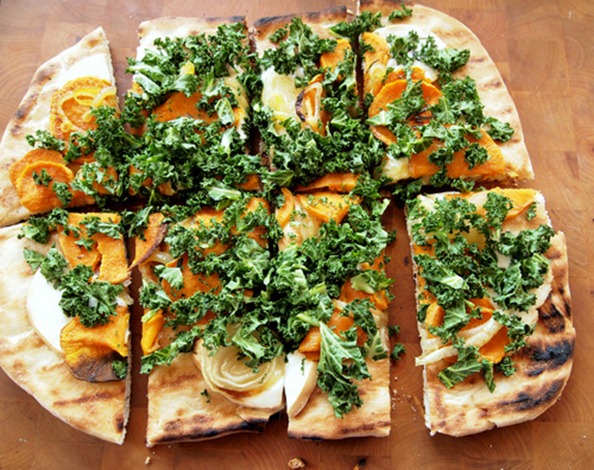
Things have been kind of wacky around here lately. Wacky as in it’s March 20th and the temperature is supposed to reach 80 degrees today…and tomorrow…and the next day! We’ve been experiencing out of the ordinary weather all winter, but in the last week things suddenly changed from slightly warmer and dryer than average to weather that here in Vermont doesn’t usually happen until June- if we’re lucky. This past Sunday a record was broken in Burlington for the highest temperature ever recorded- 79 degrees. The previous record was 66 degrees. That’s 13 degrees warmer! (yes, I know you can do math but I just had to point out the enormous jump in temps) Chances are that these beautiful summer days in the middle of March won’t last much longer. Next week the temperatures will probably drop back down to normal, and in all likelihood it will snow at least one more time before winter is truly over. For now though, there’s nothing to do but enjoy the gift that we’ve been given. Spending time sitting on the porch, raking the yard, walking the dog in a t-shirt, sleeping with the window open, breaking out my flip flops and of course, one of my favorite summer activities…grilling!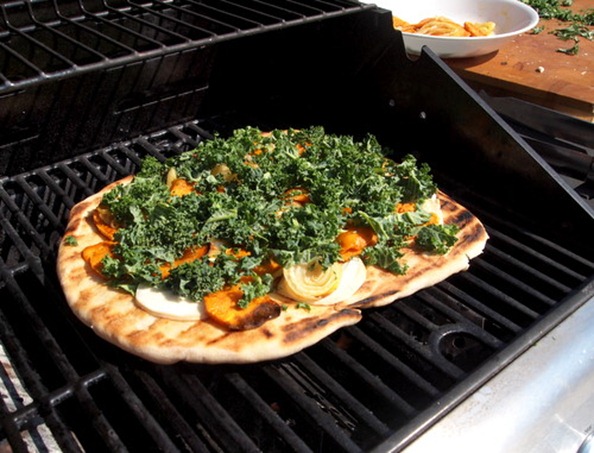
I like to grill everything, and I do. Meats, vegetables, shish kabobs, sandwiches, pizzas…you name it and I will grill it. I know, I know, a women (gasp) who like to grill. For some strange reason grilling is often considered a man’s job. Does anyone else think this is weird, and kind of wrong? There are men who couldn’t make a pot of pasta to save their lives yet give them a slab of meat and a hot grill and they will cook it up like they’re the head chef at a 5 star restaurant. And there are women who can whip up anything in the kitchen but wouldn’t dream of firing up the grill. What’s up with that? If I’m being honest it’s the latter that annoys me the most. What are you too lady-like for the grill? Is it too dirty for you? Are you scared of the fire? I just don’t get it. I’m proud to admit that in this household my husband it secure enough in his manliness to leave the grilling to me. And I in turn am confident enough in my feminine side to know I can use the grill, and use it well. So come on ladies, it’s time to get grilling!
On to the recipe. The key to a successful grilled pizza is having all the ingredients ready to go before you even turn the grill on. This of course includes the dough if you are making it yourself, but also any toppings that may need to be cooked.
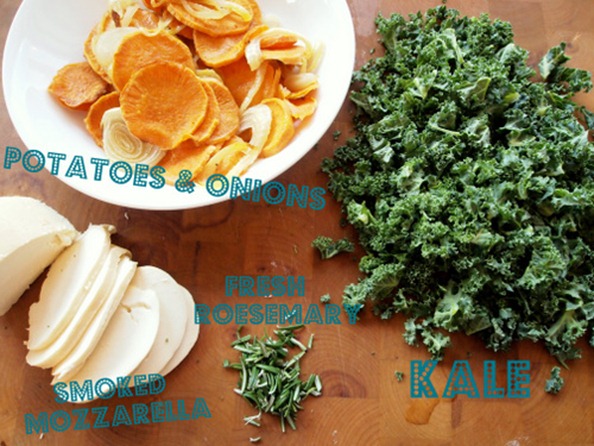
Grilled pizza happens very fast and the topping are really only on the grill long enough to melt the cheese so anything you don’t want to eat raw needs a quick cook before hand. For this pizza I went with a kind of wintery mix of sweet potatoes, onions, kale and a smoky fresh mozzarella. This is my nod to the fact that it still is only March and things like fresh tomatoes and basil are still very far away from being in season. The sweet potatoes and onions are tossed with a little olive oil, salt and fresh pepper before they are briefly roasted in the oven. If you have a good grill basket you can do this step on the grill. I chose not to because I wanted the potatoes sliced thin and I have a bad habit of burning them on the grill when they are cut this thin. 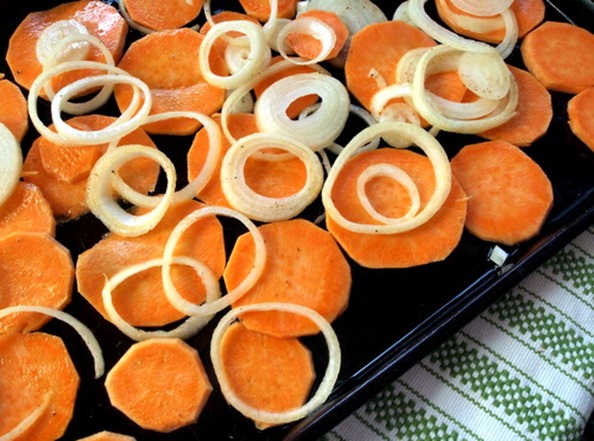
Another tip for grilled pizza is to keep it small. Don’t try to make a huge pizza that takes up the entire grill because when it comes time to flip it things will get tricky real fast. Also, you want one side of the grill searing hot so you can achieve a crispy grilled crust and the other side low heat for melting the cheese. If your pizza is too big you won’t be able to slide the cooked crust over to the cool side for cheese melting. The result will be a burnt crust and cold cheese. If you can’t tell, this has happened to me more than once. Now I always make two small pizzas and cook the second crust while the first one is on the cheese melting side. Oh, one last tip- grilled pizza doesn’t have to be round. The best shape is the one that fits your grill best. For me that is a kind of rectangular oval with wavy edges. Here is small pizza number one. Se how the crust is starting to bubble in the middle- yummm!
And here it is flipped over and cooking on the second side. Look at those beautiful grill marks.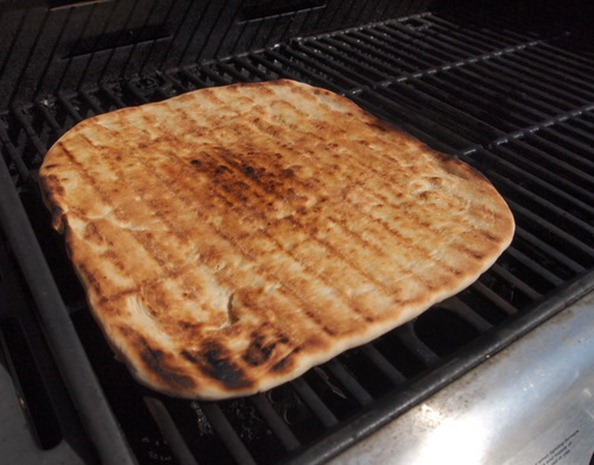
Now I slide it over to the cool side and load up the toppings, close the lid to let the cheese melt.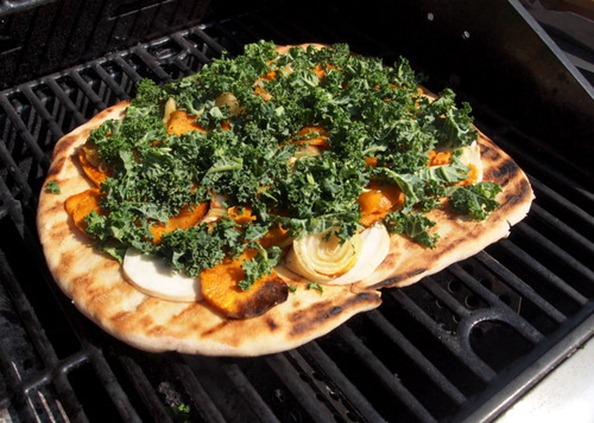
The finished product. Crisp crust, melted smoky cheese, roasted sweets and onions, and crunchy kale with just a sprinkle of fresh rosemary. Now this is how a real woman uses a grill.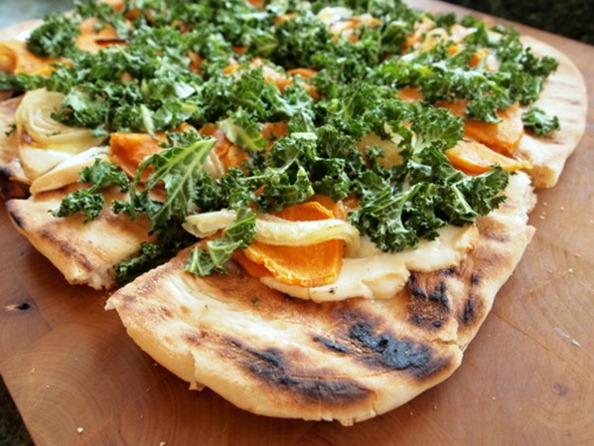
Sweet Potato, Smoked Mozzarella + Kale Grilled Pizza
inspired by Two Peas & Their Pod
For the crust (or you can buy premade dough)
1 cup warm (not hot)m water
2 cups bread flour
1 cup whole wheat flour
1 package yeast
1/2 tablespoon honey or sugar
2 tablespoon olive oil
1 teaspoon salt
Toppings
1 large sweet potato, peeled and sliced thin
1 medium yellow onion, sliced thin
salt and freshly ground pepper
2-3 tablespoons olive oil, divided
2 cups kale, coarsely chopped
8 ounces fresh smoked mozzarella
1 tablespoon fresh rosemary
coarse salt
1. Make the crust. In a large bowl combine the warm water, yeast and honey or sugar. Whisk and set aside for 10 minutes or until foamy. Add the olive oil, salt and bread flour and stir with a wooden spoon until a dough forms. Place the dough onto a well floured surface and knead for about 10 minuets incorporating in the 1 cup of whole wheat flour a little at a time. The dough with be soft, elastic and slightly sticky. Put it in a bowl and brushed with a bit of oil and drizzle a little more on top. Cover with a clean dish towel and let rise until doubled in size, one to one and half hours.
*Make ahead tip: After the dough is done rising you can punch it down, divide it in 2, roll it into balls and refrigerate in a sealed plastic bag until the next day.
2. Prepare the toppings. Preheat the oven to 400ºF. Combine the sweet potato and onion on a large rimmed baking sheet. Drizzle with 1/2 tablespoon of olive oil and sprinkle with salt and a few grinds of pepper. Roast, stirring once halfway through for 20-25 minutes or until the potatoes are soft.
3. When the dough is done rising preheat the grill. If you have 4 burners turn 2 on medium high and 2 on low. If you have only 2 burners turn one on medium-high and one on low.
4. Punch down the dough and place it on the counter. Cut it in half and place one half back in the bowl covered by the towel so it doesn’t dry out. Take the other half and stretch it into the shape you desire (it’s best to make a shape that fits your grill). Thick or thin crust is up to you, but a thin crust will develop more bubbles and lovely charred grill marks. Place the dough on a baking sheet and repeat with the second half.
5. Before you start grilling the crust make sure everything you will need (toppings, olive oil, salt, tongs) are close by because once you start cooking there is little time to run back and forth to the kitchen. Brush the top of one crust with olive oil and place it oil side down on the hot side of the grill. The best method it to put one side down first and stretch the rest out over the grates. Don’t worry if it becomes misshapen. Believe me, your moth won’t mind. Let the crust cook for 2-4 minutes with the lid closed, occasionally lifting the dough with the tongs to check for burning.
6. When it looks nice and golden brown on the bottom brush the top with olive oil, sprinkle it with salt and flip it over. Place the toppings on the pizza and then slide over to the cooler side of the grill. About 2 minutes is all you need to cook the second side of the crust. If you think its will take you longer than that to arrange the toppings be sure to move it to the cooler side of the grill. Now you can place the second dough on the hot side of the grill and repeat the process. By the time the second pizza needs to move over to the cool side the first one will be ready to take off the grill. Slice and serve immediately.

