Dec
New Year’s Appetizers – times two!
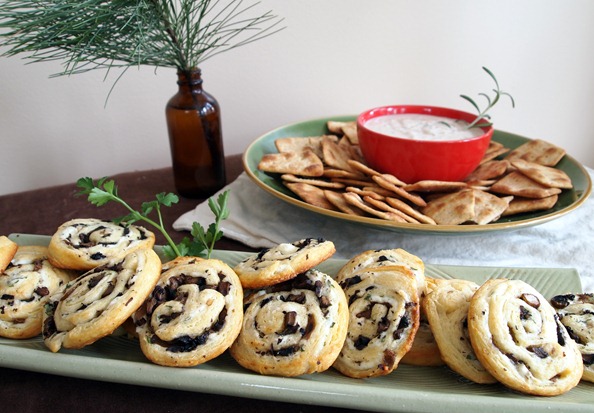
Sometimes I am the type of person who slaves for 3 hours over delicate mushroom filled pastry dough triangles . Annnd…sometimes I am the type of person who spends 20 minutes smearing cream cheese on canned crescent roll dough and calls it a day. These two sides of me often battle it out. The first side nags at me with her instance that everything must be made from scratch, artfully arranged, and taste like it came straight from the kitchen of Martha Stewart. The latter scoffs at this ridiculous notion that time and perfection equal taste and satisfaction. Usually, I can manage to broker some sort of compromise between the two, but not today. Today, on this New Year’s Eve Eve, the lazier (and more realistic) side won hands down- she even went so far as to buy dough in a can!
So what’s the bonus to taking the quick approach? More time to do laundry? Wash the dishes? Make New Year’s resolutions? Nope, nope, and nope. How about make more appetizers? Now that’s just my style. Actually, the second app didn’t take any extra time because I made it while the crescent rolls were baking. Multi-tasking and dough from a can…I must be channeling some sort of domestic goddess today.
Well, from one domestic goddess to another, I am here to tell you that you too can make not one, but two, impressive and delicious appetizers in a mere 20 minutes. And if that little voice in your head starts screeching about homemade dough and organic goat cheese infused with herbs, you can tell her I said to shut it! Sometimes simpler is better – especially on Friday.
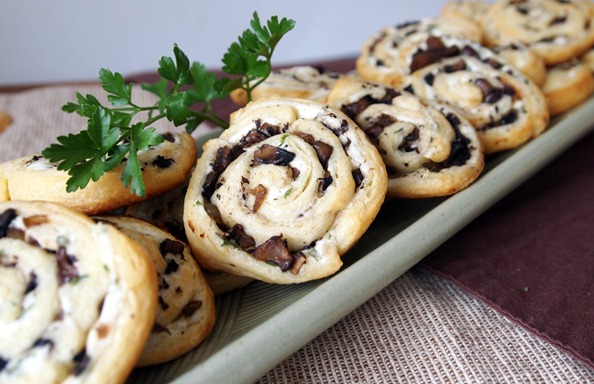 These mushroom cheese roll-ups are so simple that they take just four easy steps to make. Ready? Step one: sauté some mushrooms and onion. Opps…forgot to take pictures of this step, but you know what mushrooms in a pan look like.
Step two: mix together cheese, herbs and garlic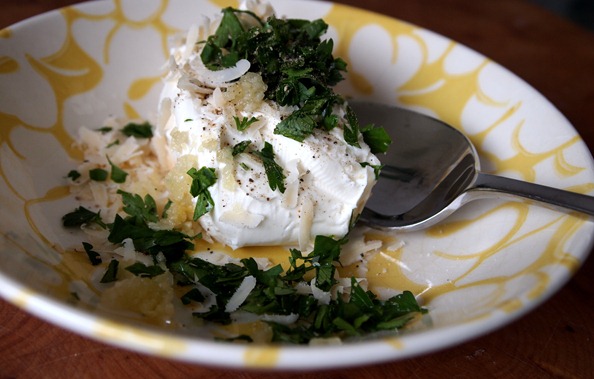 Step three: Spread cheese and mushrooms on the rolled out dough
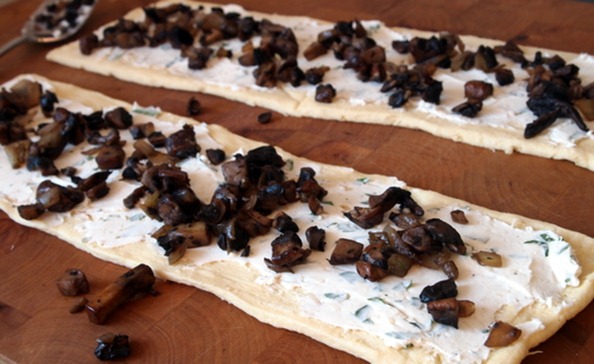
Step four: roll up, slice and bake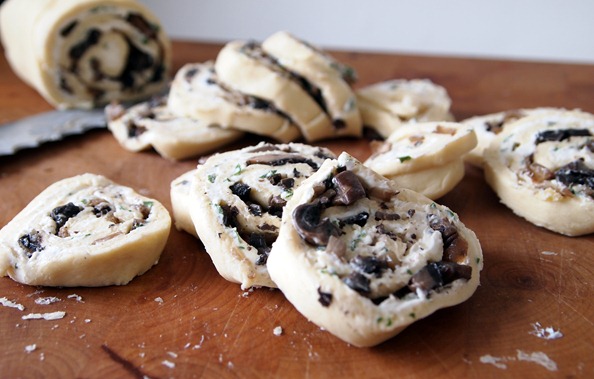
That’s it. Four steps to cheesy baked goodness. And while these little guys are in the oven you can make a creamy white bean dip that I swear tastes just as good as some other dips that shall remain nameless (artichokes and sour cream you know who you are) but with none of the fat and more of the fiber. The best part of this dip – it only take two steps to make. Ready, set, go!
Step one: Combine everything in the food processor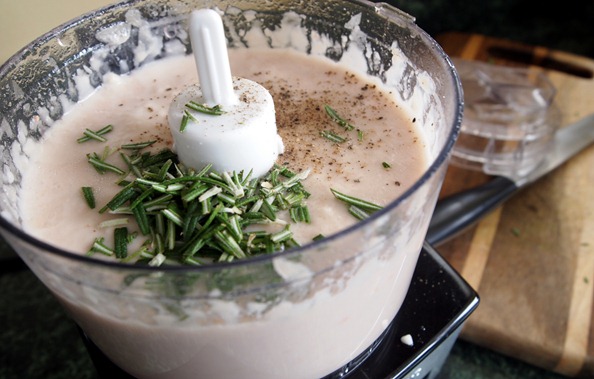
Step two: scoop into a bowl and eat with crackers or bread. Or skip the bowl part and eat it right out of the food processor…who I am to judge? 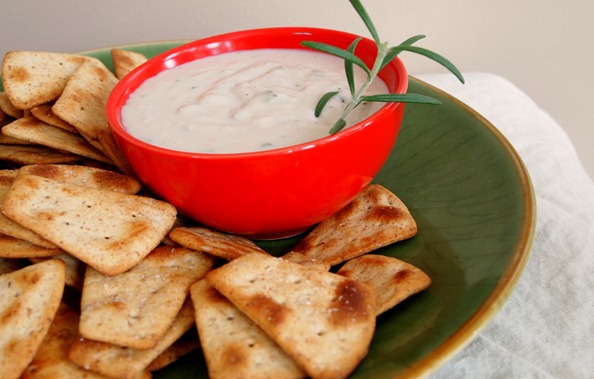
That’s it. Twenty minutes and two appetizers. Throw in some champagne and you’re ready to celebrate New Year’s in style! Best wishes for the last days of 2011 and I’ll be back in the new year with more recipes.
Cheesy Mushroom Roll-Ups
Makes: 16
1 8-ounce can crescent dinner rolls
3 ounces 1/3 –less fat cream cheese, softened
1 tablespoon parmesan cheese, finely grated
1 tablespoon fresh parsley, minced
1 garlic clove, minced
salt and ground pepper
1 cup mushrooms, any kind you like , chopped small
1/3 cup onion, finely diced.
1. Preheat the oven to 375ºF. Coat a medium pan with non-stick cooking spray. Sauté the onion and mushroom over medium-high heat for 4-5 minutes or until the soft but not brown. Set aside.
2. In a small bowl, combine the two cheeses, parsley, garlic and a dash of salt and pepper.
3. Pop the dough out of the can and roll out into two rectangles. Pinch the pre-cut seems together slightly. Spread half the cheese mixture on each rectangle. Starting from the short end, roll up the dough and pinch the ends to seal. Slice each roll into 8 pieces.
4. Place the sliced pieces cut side down on a baking sheet and bake for 12 minutes or until golden.
White Bean Dip
1 (15.5 ounce) can cannellini beans, drained and rinsed
1 1/2 tablespoons extra-virgin olive oil
1 1/2 tablespoons red-wine vinegar
2 cloves garlic
2 tablespoons water
1 teaspoon fresh rosemary, chopped
Salt and fresh ground pepper
In a food processor, combine the beans, olive oil, vinegar, garlic, and water. Process until smooth, adding more water if needed. Add the rosemary and pulse until combined. Season with salt and pepper.
Dec
Roasted Veggie Lasagna (Gluten-free)
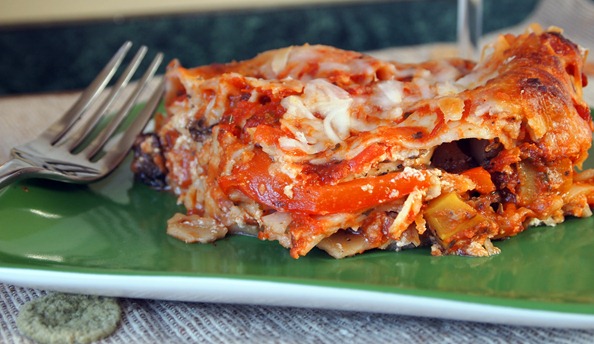
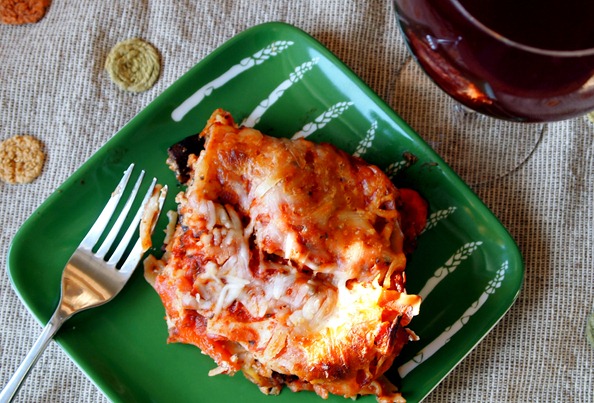
I don’t know about you but after all the sugary treats I’ve been stuffing my face with the last few weeks, I really need a hearty dose of veggies in my life. Besides, I am about to indulge in the next snack-filled, champagne drenched holiday so I figured there was just enough time to squeeze a healthy meal in there. And let me tell you, this gluten-free, mega veggie filled lasagna fits the bill perfectly. Gluten-free lasagna? That’s right, I wasn’t messing around with this one. This is a full out health fest on your plate…oh, except for the cheese…lots of ohhy gooey cheese. What, how healthy did you expect me to go? Technically it is still the “holidays”. We’ll eat salad next week, I promise. For now though I am satisfied that I got in my veggies, even if they were covered in melted cheese. 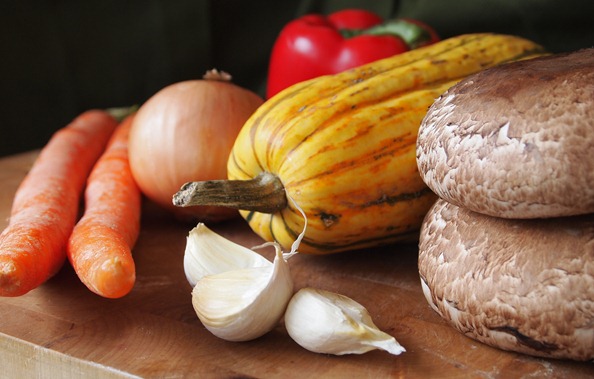
Back to the gluten-free part though. If you’re like me the idea of a gluten-free noodle conjures up images of a gummy, mushy mess that tastes more like soggy socks than an actual noodle. Well, I am here to tell you that you (and I) are wrong. I found these wonderful brown rice noodles and used them in my lasagna exactly how I would have used the regular wheat based noodles. Guess what? They tasted exactly the same! Not only that, but the texture was the same and I swear If someone made this for me and didn’t tell me it was gluten free I would never know the difference.
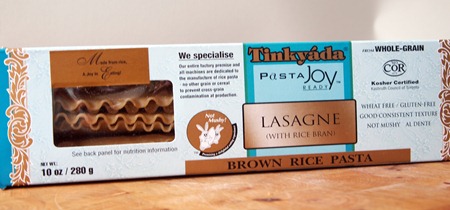 Does this mean I am ready to go gluten-free? Ha! That’s the funniest thing I’ve ever heard. Let’s not get carried away now. I am far too much in love with bread to ever even consider this silly idea. But it was fun to experiment and I will definitely be using these noodles again.
Let’s get back to the veggies. Here they are ready for roasting.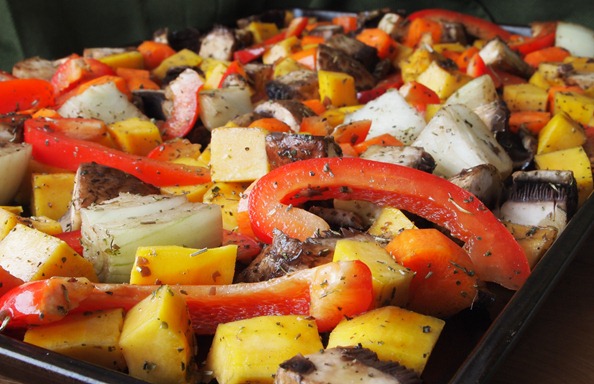
And here they are after roasting- yumm!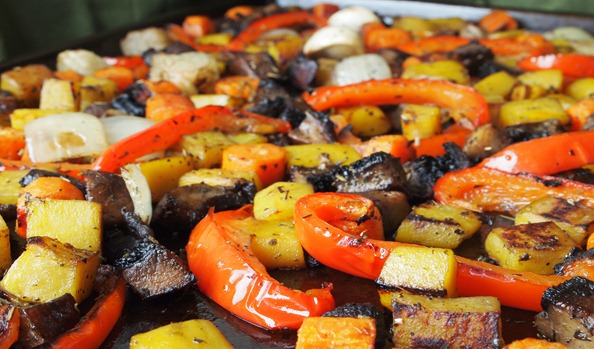
Roasted Veggie Lasagna – Gluten Free
Serves: 8
4 cups of vegetables for roasting- the following is what I used:
1 onion, cut in large pieces
1 winter squash (I used a Delicata), peeled and cubed
1 sweet red pepper, seeded and sliced
2 large portabella mushrooms, cubed into large pieces
2 carrots, peeled and sliced into 1/2- inch pieces
3 whole garlic cloves, leave the outer peel on for roasting
1 tablespoon olive oil
2 tablespoons balsamic vinegar
1 tablespoon Italian seasoning
1 10 ounce package brown rice noodles
1 8 ounce container low-fat ricotta cheese
1 1/2 cups 2% mozzarella , shredded and divided
2 tablespoons parmesan cheese, grated
1 garlic clove, minced
1 egg, lightly beaten
Dash of nutmeg
Salt and pepper
3 cup of pasta sauce (I use Muir Glen Tomato Basil pasta sauce and thinned it with a little red wine)
1. Preheat the oven to 400º F. Cut up your vegetables and toss in a large bowl with the olive oil, balsamic vinegar and Italian seasoning. Spread them in an even layer on a shallow baking tray. Roast for 45-55 minutes, tossing occasionally. The veggies should be soft and starting to caramelize. Remove from the oven and allow to cool a bit before layering the lasagna. Reduce the oven temperature to 350ºF.
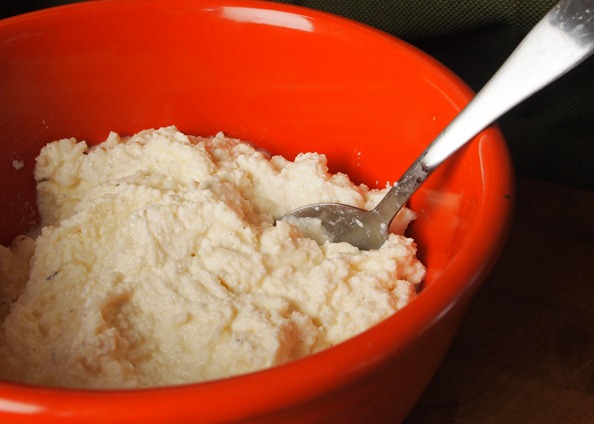
2. In a medium bowl combine the ricotta cheese, 1 cup mozzarella, parmesan cheese, garlic, egg, nutmeg, a dash of salt and a few grinds of black pepper. You could also add a bit more Italian seasoning to the cheese mixture if you like.
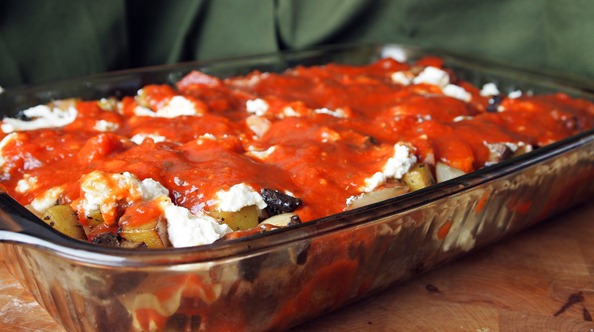
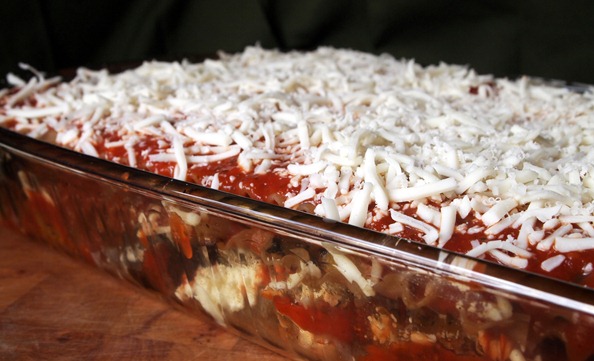
3. Spread a thin layer of sauce on the bottom of a 9 x 13-inch baking dish. Place a layer of uncooked noodles on top. Spread half the veggies on the noodles. Dollop on half of the ricotta cheese mixture and spread evenly. Pour on more sauce and top with another layer of noodles. Spread with the remaining vegetables and ricotta cheese. Top with another layer of noodles. Cover the noodles with sauce and sprinkle on the last 1/2 cup of mozzarella.
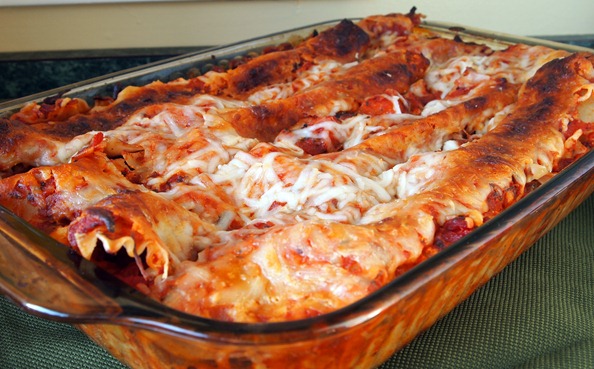
4. Bake at 350ºF uncovered for 40 minutes. Cover with a piece of tinfoil coated with cooking spray (so the cheese doesn’t stick) and cook for another 15 minutes. Let stand at least 10 minutes before serving.
Dec
Cranberry-Pear Mini Loaves
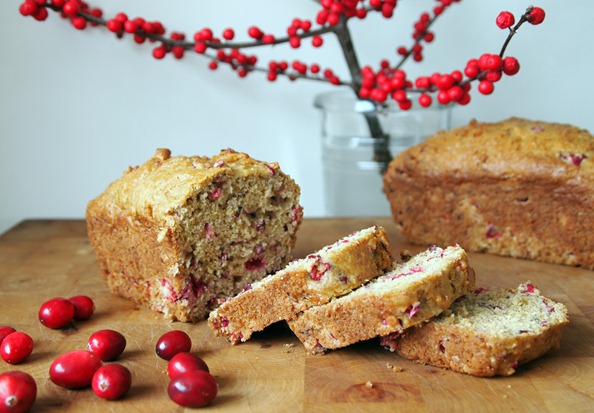
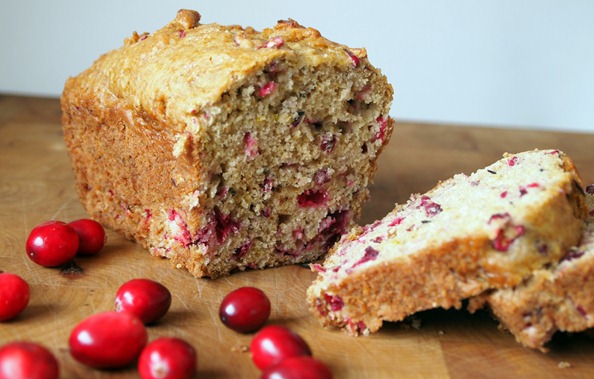
This bread is amazing. In fact, this bread is so amazing that I guarantee two things will happen when you make it. First, you will consume an entire loaf… by yourself. Second, you will need to make another batch because you just consumed an entire loaf. My advice to you- make two batches from the start. Or better yet, make one batch of mini loaves to give away and one large loaf to devour nibble on yourself. Go ahead, it’s the holidays, you deserve it. 
All joking aside, eating a whole loaf of this bread really isn’t the end of the world. Why? Because it’s actually pretty healthy. The recipe is based on Cranberry-Nut Mini Loaves with Flax from Liv Life (remember the ones I dropped on the floor). It includes healthy ingredients such as ground flax seed and whole wheat flour. It also has a minimal amount of oil and very little sugar. While the original recipe was pretty tasty I’ve been inspired lately by recipes that combine cranberries and pears. When I saw a recipe for Pear Cranberry Walnut Bread from Tracy at Shutterbean I just knew I had to make something like it. In the end I made a sort of hybrid version of the two recipes, and if I do say so myself- it was delicious!
Cranberries and pears hanging out together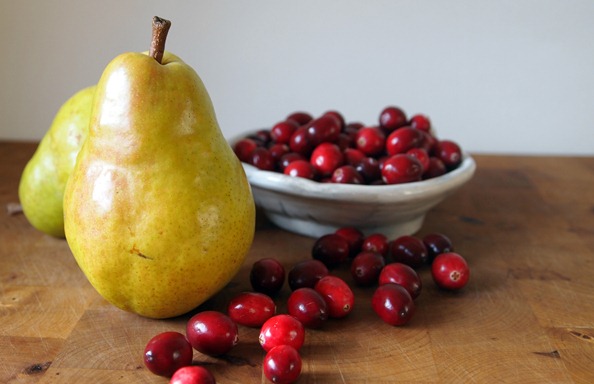
The pears get grated- messy, messy
Combine the dry ingredients. Fresh Nutmeg rules!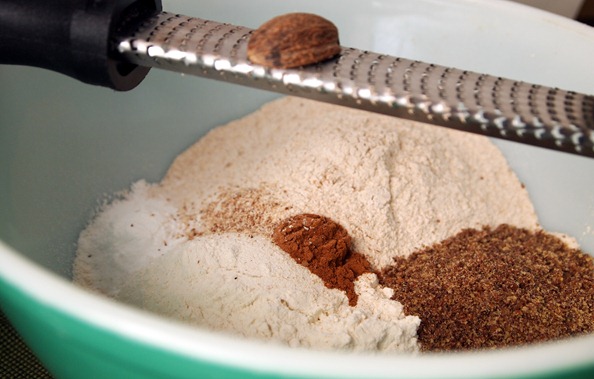
Wet ingredients in another bowl. Don’t forget the pear.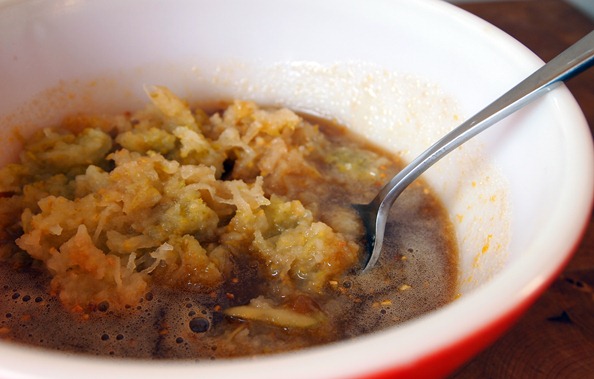
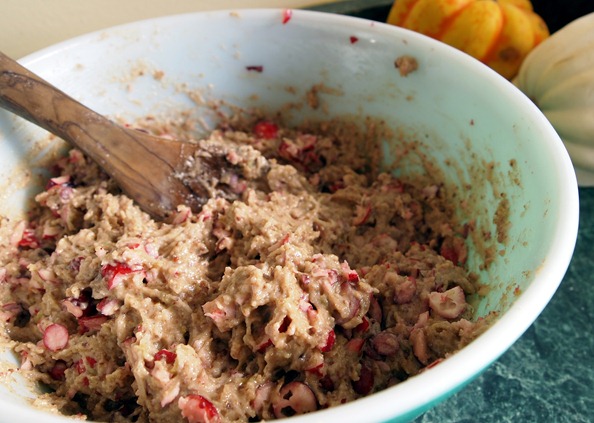
Wet and dry ingredients combine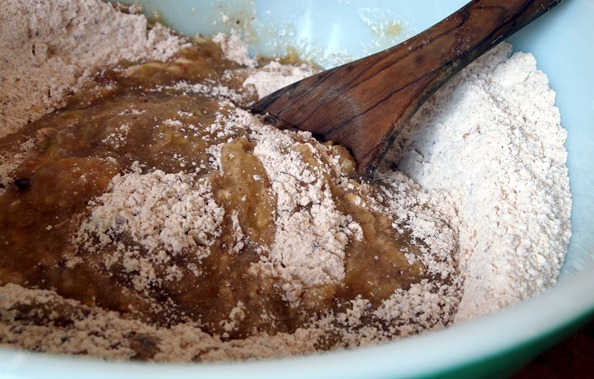
Into the mini loaf pans and pop in the oven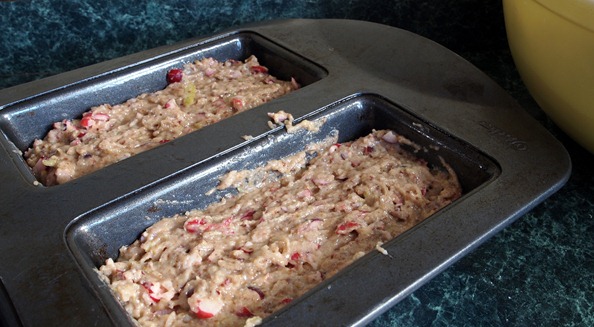
Cranberry-Pear Mini Loaves
Inspired by Liv Life and Shutterbean
Makes: 3 mini loaves (3×6-inch pans with a 2 cup capacity)
1 cup whole wheat flour
1 cup unbleached white flour
1/2 cup ground flax seed
1 1/2 teaspoons baking powder
1/2 teaspoon baking soda
1 teaspoon cinnamon
1/2 teaspoon ground nutmeg
1/4 teaspoon salt
1 egg
2/3 cup brown sugar, packed
1/4 cup canola oil
1 teaspoon vanilla extract
1 teaspoon lemon zest
1 tablespoon lemon juice
2 pears, grated
1 1/2 cups cranberries, chopped
1. Preheat the oven to 350ºF. Coat 3 mini loaf pans with cooking spray.
2. In a food processor, pulse the cranberries a few times until they are roughly chopped. Set aside. Grate the pears using the fine side of the grater. This is a messy process, so it’s probably best to do it over a bowl. Set this aside as well.
3. In a large bowl whisk together the flours, ground flax, baking powder, baking soda, cinnamon, nutmeg and salt.
4. In a small bowl combine the egg, brown sugar, canola oil, vanilla, lemon zest and lemon juice. Mix in the grated pear.
5. Make a well in the center of the dry ingredients and pour in the wet mixture. Stir well to combine. Fold in the chopped cranberries.
6. Divide evenly among the loaf pans and bake for 35 minutes, or until a wooden tester comes out clean. Cool on a wire rack at least 15 minutes before slicing.

