
Nov
Chicken or Turkey Pot Pie

What’s the best part of the day after Thanksgiving? The memories of a day filled with good food and even better company? The black Friday deals that you slogged out at midnight to score? How about the LEFTOVERS? No matter how much you stuffed yourself yesterday, and even if you had to unbutton your pants at the table and swore you would never eat again, come Friday morning you will inevitably be dreaming of turkey sandwiches smothered in leftover mashed potatoes and dripping with gravy. Or pumpkin pie with a dollop of whipped cream, or Aunt Sally’s fluffy homemade biscuits smeared with cranberry sauce. Oh yum, I am getting hungry all over again!  In my opinion though, the ultimate leftover meal has got to be pot pie. You can use leftover turkey, throw in whatever vegetables you have, and maybe even top it with leftover rolls. I know, I know, you spent all day yesterday cooking and the last thing you want to do is make an elaborate pot pie. But wait…making a pot pie doesn’t have to be a complicated affair. I’ve been making variations of this recipe for years and it’s rare that it takes much more than an hour to make, cooking time included. The beauty of the pot pie is just how versatile it is. The basic ingredients are chicken or turkey and vegetables. That’s it. While I am partial to potatoes, carrots, celery and peas, I have been known to add sweet potatoes, parsnip, turnip, various kinds of squash, broccoli, or green beans. Basically, use what you have or what you like, even if it’s just a bag of frozen mixed vegetables.
  I hate to brag, but I am a bit famous for my pot pie. It could be because I make a mean pot pie superior to all others, but I think the real reason is because I actually make pot pie. Well, I am here to tell you right now that you too can make a pot pie. Slice up some of that leftover turkey, mix in some veggies and whip up a biscuit topping. You will be pleasantly surprised by just how easy it is. Happy leftover day everyone.
Chicken or Turkey Pot Pie
Serves: 8
Filling:
4-5 cups cooked chicken or turkey
(if you’re not using leftovers, roast 1 ½ pounds of bone-in, skin on chicken breasts in a 350º oven for 35-40 minutes or until cooked through. Set aside until cool enough to handle, then remove the meat from the bones and discard the skin.)
1 tablespoon extra-virgin olive oil
1 medium onion, finely chopped
3 medium carrots, peeled and sliced ¼ -inch thick
2 celery stalks, sliced ¼ -inch thick
2 medium potatoes, peeled and cut into ½ -inch cubes
½ cup flour
2 cups low-sodium chicken stock
1 ½ cups 2 % milk
1 cup frozen peas
½ teaspoon dried thyme
¼ teaspoon dried sage
Coarse salt and ground pepper
Biscuit topping
1 ¾ cups flour
2 teaspoons baking powder
½ teaspoon baking soda
½ teaspoon salt
2 tablespoon butter
¾ cup buttermilk
2 teaspoons honey
Filling:
- Preheat oven to 400˚ F. Butter a 13 x 9-inch baking dish or 2 smaller oven-proof dishes.
- Heat olive oil in a large skillet over medium-high heat. Add onion and cook, stirring often, until barley tender, about 2 minutes.
- Add carrots, potato and celery; cook until slightly soft, 8-10 minutes.
Add flour to the vegetable mixture. Stir well and let cook 1 minute more. - In a small bowl combine the chicken stock and milk. Gradually stir into the vegetables. Cook over medium heat until thick and bubbly.
- Turn the heat to low, add the frozen peas, thyme, sage, and salt and pepper to taste. Stir in the chicken.
- Pour chicken vegetable mixture into prepared pan.
Biscuit Topping:
- In a large bowl, sift together the flour, baking powder, baking soda and salt.
- Using a pastry blender or fork, cut the butter into the flour mixture until it resembles coarse meal.
- In a measuring cup, combine the buttermilk and honey. Add the liquid to the flour mixture, stirring with a fork to form stiff dough. Add more buttermilk if the dough is too dry.
- Knead lightly in the bowl until the dough is no longer sticky, about 3 to 5 minutes. Then turn the dough onto a lightly floured surface. Roll out to approximately ¾ -inch thick. Cut the dough into biscuits and arrange on top of the chicken, overlapping if necessary. Alternatively, you can skip the last step and simply roll out the dough into the shape and size that fits your baking dish and lay the whole thing over the top, crimping the edges like a pie crust.
- Bake until the inside is bubbly and the topping is nicely browned, 25 to 35 minutes.

Nov
Roasted Beets with Balsamic Glaze

As far as I am concerned roasted beets are the only beets worth eating. Sure, you could argue that this same recipe would be just as good with boiled beets and take less than half the amount of time…but you would be wrong! Boiled beets are fine, but roasted beets are DELICIOUS. The long, slow roasting process brings out the earthy sweetness of the beets and causes the natural sugars to caramelize into all sorts of irresistible flavors. Boiled beets only wish they could be that good! Then there’s the glaze. This sweet yet tangy, super simple balsamic glaze adds an extra layer of yumminess to the already mouthwatering beets. I swear, this recipe might just win over even the most skeptical beet eater.
But wait…there’s more. I have been wanting to share an 
entire meal here for awhile now. Not just a one dish meal, but a few simple recipes that together create a complete meal. Since beets are really just a side dish (no matter how good they are) I thought this would be a great opportunity to create an entire meal post with three separate recipes. Roasted Beets with Balsamic Glaze, Chicken Thighs with Honey and Spice, and Roasted Cauliflower with Garlic. By the time you’re done reading this you will know exactly what’s for dinner tonight. Well, maybe tomorrow night. Since the beets take such a long time to roast I would suggest that if you’re making this meal on a week night you might want to roast the beets the night before. While the chicken and cauliflower are in the oven you can then make the glaze and pop the pre-roasted beets in the microwave for a few minutes until they’re warm. Make sure that you peel the beets while they are still warm though, because the skins are much harder to get off once the beets are cold. That reminds me,cold beets are great on salads. Slice or grate them over a spinach salad with citrus and toasted sunflower seeds. Maybe add some chick peas for protein and you have another delicious meal
that can’t be beet! I couldn’t resist – I had to include at least one beet pun. 
1. Preheat oven to 400º.
Roasted Beets
with Balsamic Glaze
Serves: 4-6
2 lbs. red beets
2 T. olive oil
coarse salt
1/2 c. balsamic vinegar
2 t. sugar
1 t. orange zest
black pepper
2. Prepare the beets by cutting off the green tops, trimming the root on the bottom and scrubbing clean.
3. Place the beets on a foil lined baking sheet. Brush with olive oil and sprinkle with coarse salt.
4. Cover the beets with another sheet of foil folding the edges together to create a seal.
5. Roast for 1 to 2 hours or until a fork slides easily into the beet. Test them after one hour and then every 15 minutes until done. For the best flavor, even when you think they’re done let them go for 15 more minutes. This will ensure that the sugars have caramelized and the flavor is at its best. Remove the beets from the oven and let cool. (If you are making the beets ahead of time, skip the next step until right before you are ready to serve them. Be sure to peel the beets while still warm though, otherwise the skins are difficult to remove.)
6. While the beets are cooling make the glaze. Cook the vinegar and sugar; stirring often, over high heat until it reduces to a syrup. Set aside.
7. When the beets are cool enough to handle peel off the skin and cut into bite size pieces.
8. Place the beets in a bowl and drizzle the glaze over the top. Toss with the orange zest and black pepper to taste. Serve warm or cold.
 The next recipes are for Roasted Cauliflower and Chicken Thighs with Honey and Spice. They can both go in the oven at the same time because they have similar cooking times, but depending on your oven and the size of the chicken thighs they may not be done at exactly the same time. No problem. Just take out whatever dish is done first, cover with foil and place on your cooktop to keep warm.
Originally, I had planned on roasting the cauliflower and mashing it with a bit of roasted garlic and olive oil, sort of a rustic version of mashed potatoes. That plan all fell apart though when I pulled the roasted cauliflower out of the oven and popped a piece in my mouth. The browned edges and deep nutty flavor were so mouth-watering that I knew then we would eat it as it. Go ahead and mash it if you want, but in the end all I did was toss in a few cloves of roasted garlic and some grated parmesan and oh man was it good. Sometimes the most simple recipes are the best. 1. Preheat oven to 400º.
Serves: 4-6
1 medium size cauliflower
2 tablespoons olive oil
salt and fresh black pepper
5-6 cloves roasted garlic (recipe follows)
3 tablespoons freshly grated parmesan cheese
2. Cut the cauliflower into bite size florets and place them in a 9 x 11-inch baking dish. Drizzle with olive oil and sprinkle with salt and fresh ground pepper.
3. Roast 30-35 minutes, stirring and flipping the cauliflower at least once. You will know it is done when the edges began to turn brown and crispy and the florets are tender.
4. Remove from the oven and mix in 4-5 cloves of roasted garlic and parmesan cheese. Toss to combine. Serve hot.
The roasted garlic can go in the oven along with the cauliflower and chicken. 
1. Preheat oven to 400.
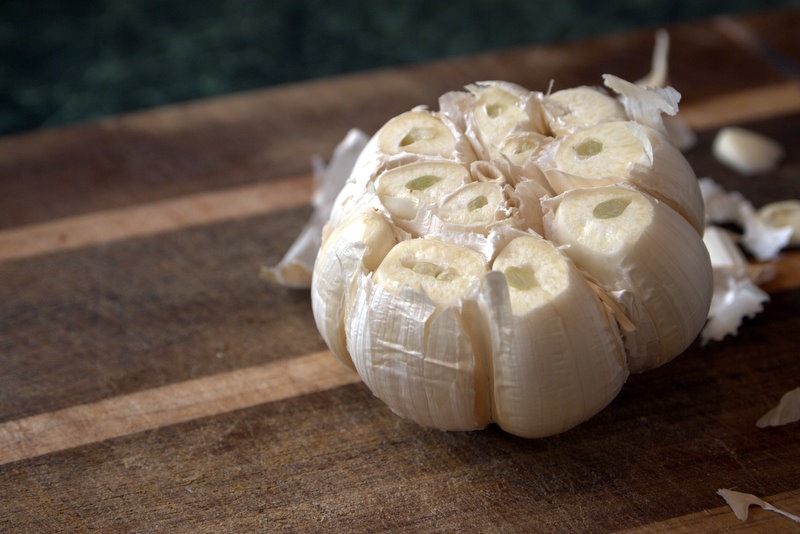
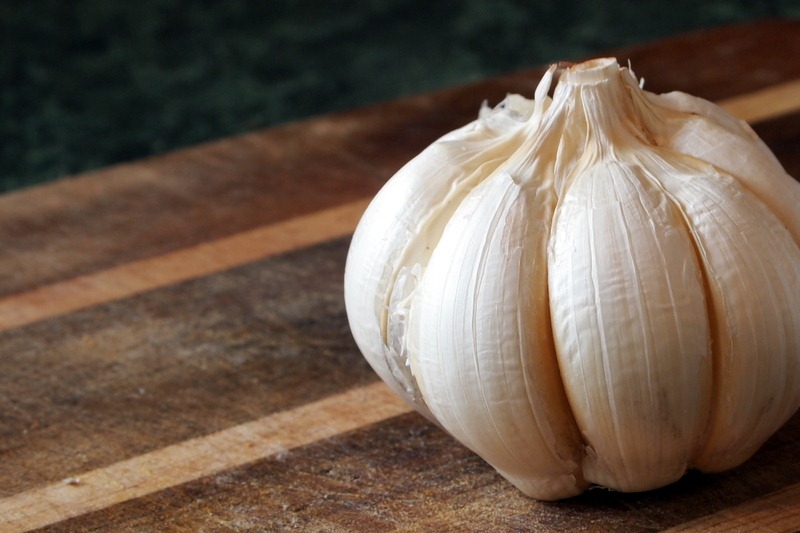
2. Peel the outer layers off the garlic bulb, leaving the thin skin around the individual cloves.
3. Cut off the top 1/4 to 1/2-inch of garlic bulb to expose the tops of the cloves.
4. Place on a sheet of tinfoil and drizzle with olive oil. Gather the foil together at the top of the bulb and twist to seal.
5. Roast 30 to 35 minutes or until the cloves are soft.
6. Remove the garlic from the oven, unwrap it from the tinfoil and let cool. When the bulb is cool enough to touch use a knife or fork to gently pull the roasted cloves from their skins.
The chicken can also go in the oven along with the cauliflower and garlic. This recipe is one of my favorites because its easy and flavorful. The spice level can be adjusted by varying the amount of red pepper that you add. This is a recipe that I make year round. In the summer on the grill, and this time of year in the oven. You really could make this dish with any chicken parts that you like, but in my opinion chicken thighs are the most flavorful and don’t dry out in the oven like chicken breasts tend to. I also like to use the thighs with bones in them because they tend to stay more moist than the boneless version. Sometimes I can’t find skinless bone-in chicken thighs so I just buy the ones with skin and remove it. Yes, I know the skin is oh so tasty, but also oh so unhealthy. I promise that with the spice rub and honey vinegar glaze you will never miss the skin. 1. Preheat the oven to 400º.
Chicken Thighs with Honey and Spice
Serves: 4
4 bone-in skinless chicken thighs
1 teaspoon garlic powder
1 teaspoon chili powder
1/2 teaspoon salt
1/2 teaspoon cumin
1/2 teaspoon paprika
1-1/2 teaspoon red pepper
1 teaspoon cider vinegar
3 tablespoons honey
2. Combine the garlic powder through red pepper in a small bowl. Add 1/2 teaspoon red pepper for just a touch of heat and 1 teaspoon or more for a spicy flavor. In another small bowl whisk together the cider vinegar and honey. If the honey is stiff and doesn’t combine easily with the vinegar put it in the microwave for 8-10 seconds to soften. Set aside.
3. Place the chicken thighs in a baking dish large enough so that space remains between them. Coat the chicken evenly on both sides with the spice mixture. Brush on half of the vinegar and honey mix.
4. Bake for 25-35 minutes depending on the size of the thighs. Flip once in the middle of the baking time and baste with the remaining honey sauce. The chicken in done when the juices run clear when poked with a fork and the internal temperature reaches 180º.
Subscribe by e-mail
Recent Posts
Tags
Archives
Tasty Reads

